
Hello today I bring you a little toy that can help a lot to perform some tasks of a pentesting. This toy can be purchased for a small fee in specialized stores, but thanks to this homemade DIY tutorial, we will learn how to do it ourselves. So let's make a tax sniffer, a Tap!
# What is a TAP?
A tap, network tap or passive sniffer is a network element that allows us to duplicate network traffic from one connection to another port and thus be able to monitor all transmitted packets.
One of the advantages it has over a software sniffer is that being a physical element is not easily detectable (as could be an adapter in promiscuous mode). The tap is not capable of sending through the monitoring ports so you can not send any packages from them and there is no physical connectivity.
The idea is simple, we connect a cable from source to destination and between them we will connect two cables to punch the transmission and the reception of packages.
#Let's begin
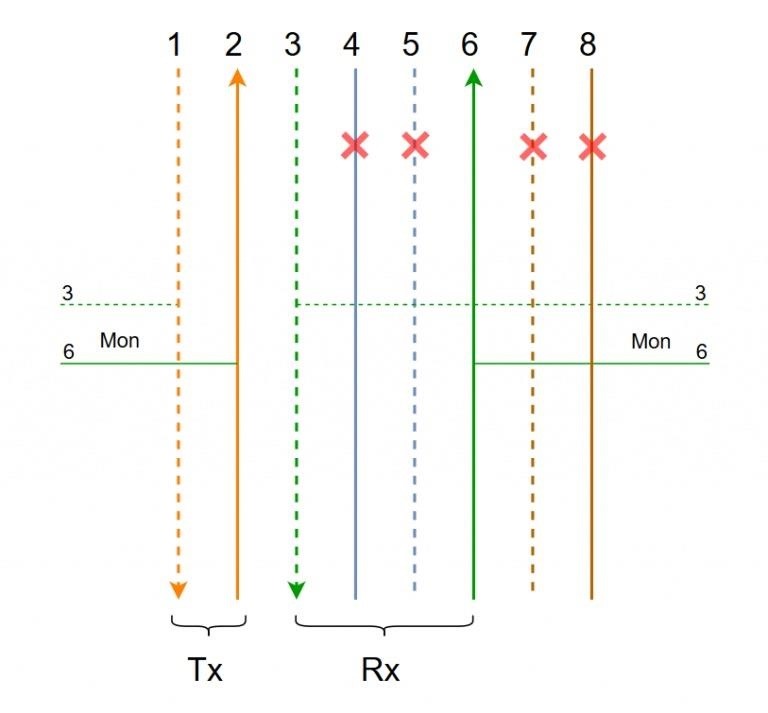
To do this we will connect one pair of cables to the transmission pair (Tx) and two others to the receiving pair (Rx). The cables that we click must be connected to the receiving cables (Rx) of the monitoring ports.
We can see it more clearly in the following diagram
 Mohamed Ahmed " width="532" height="532" style="max-width:532px;height:auto;"/>
Well without more roundabouts we will see step by step how to build a Network Tap with very reduced budget .
#Materials
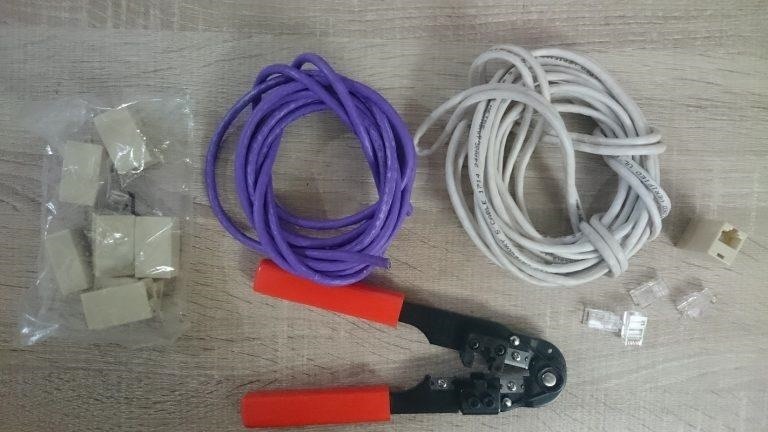
The list of materials and tools we will need is:
1) RJ45 connectors
2) Ethernet cable
3) Crimping Pliers
4) Heat Shrink Tubing
5) Welder and Tin
6) Glue gun
 Mohamed Ahmed " width="532" height="532" style="max-width:532px;height:auto;"/>
#Let's do it
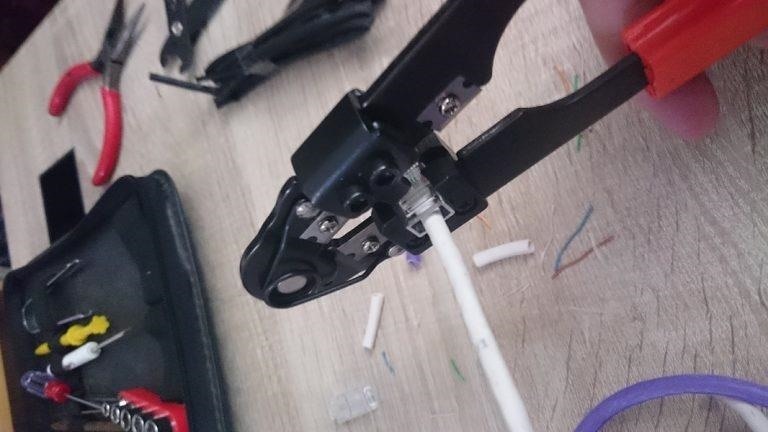
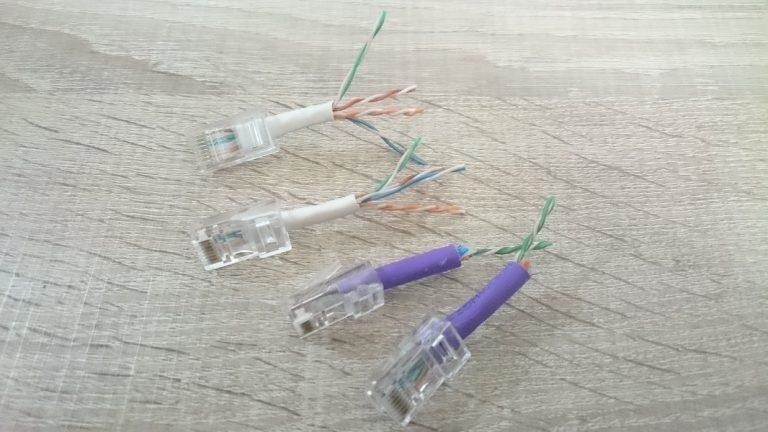
The first is to crimpar four ethernet cables with the rj45 connectors, all of them following the same series (white-orange, orange, white-green, blue, white-blue, green, white-brown, brown)
 Mohamed Ahmed " width="532" height="532" style="max-width:532px;height:auto;"/>
Then cut and peel the cables. For the monitoring ports we will leave only cables 3 and 6 (green and white-green). I have chosen purple wire for the monitoring ports to make it easier to differentiate them
 Mohamed Ahmed " width="532" height="532" style="max-width:532px;height:auto;"/>
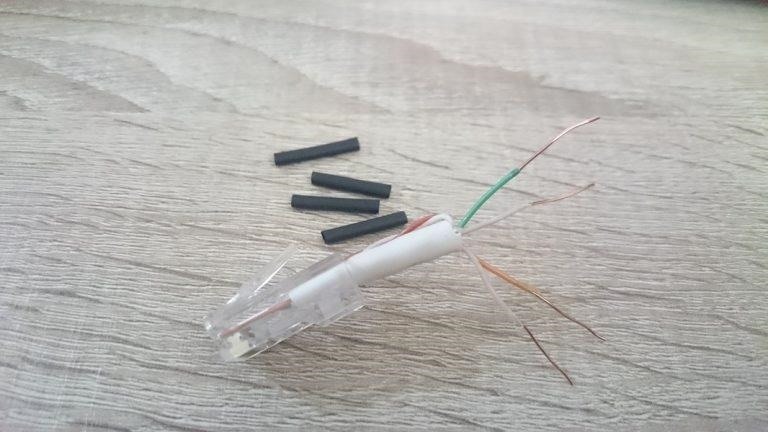 Mohamed Ahmed " width="532" height="532" style="max-width:532px;height:auto;"/>
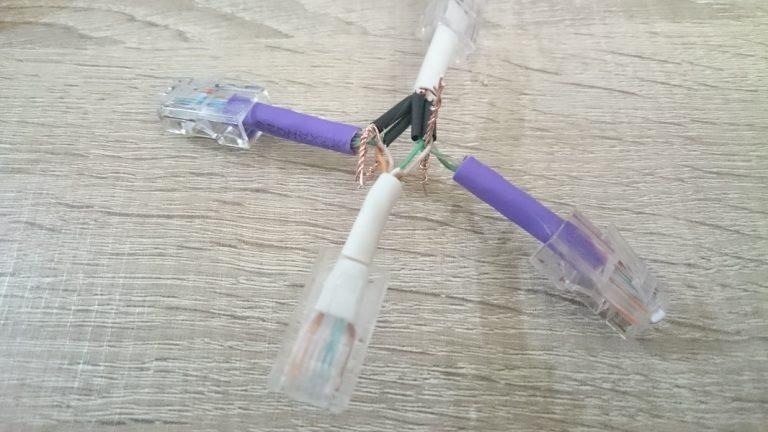
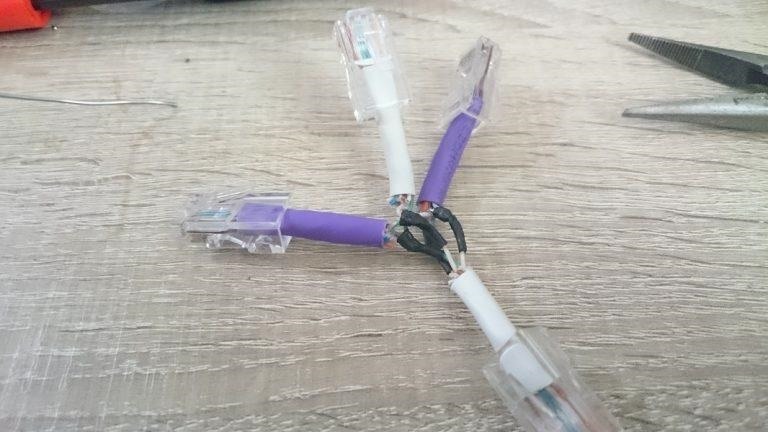
We wire the cables following the diagram and insert a small piece of heat shrink tube into the cables before connecting them so that we can then cover the splices. The two send and receive ends must be connected in a normal way and connect cables 1 and 2 (orange-white and orange) to a monitoring port and connect 3 and 6 (white-green and green) to the other monitoring port.
 Mohamed Ahmed " width="532" height="532" style="max-width:532px;height:auto;"/>
Cables 4, 5, 7 and 8 are not going to be connected, so our Network Tap will work at 10/100 Mbit / s. Being a passive network element if we connect a Gigabit Ethernet device will reduce its speed to 100 Mbit / s. It is the only option for being a passive element.
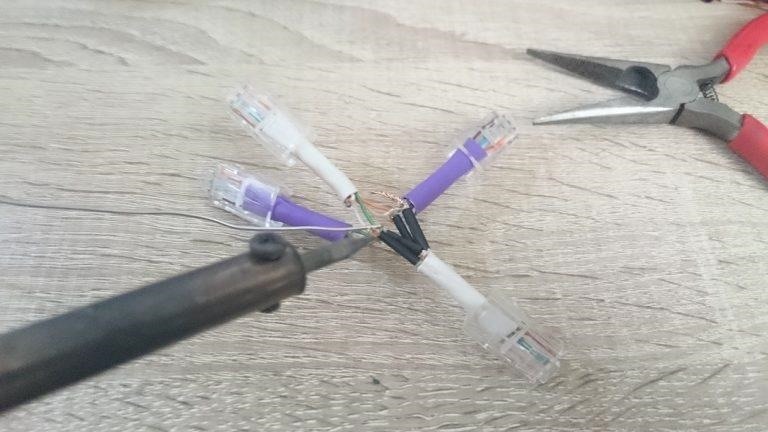
We cut the surplus in the connections and we finish it with a little of tin to improve the connectivity.
 Mohamed Ahmed " width="532" height="532" style="max-width:532px;height:auto;"/>
We cover the splices with the heat shrink tubing.
 Mohamed Ahmed " width="532" height="532" style="max-width:532px;height:auto;"/>
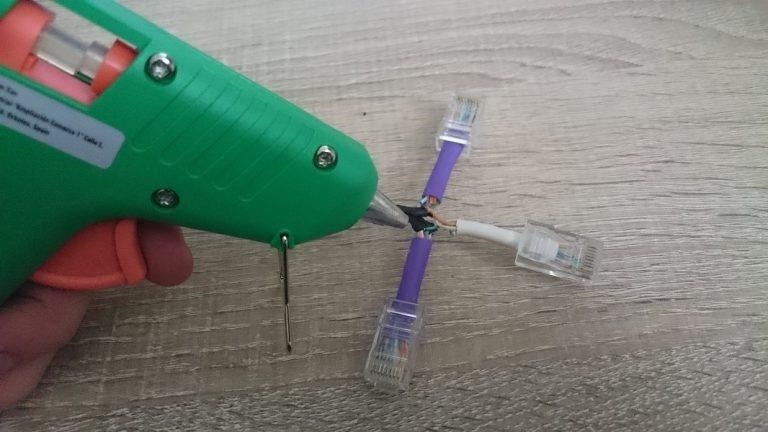
We have chosen to cover the center of the cables with silicone glue to give more consistency and to resist pulling on the network cable.
 Mohamed Ahmed " width="532" height="532" style="max-width:532px;height:auto;"/>
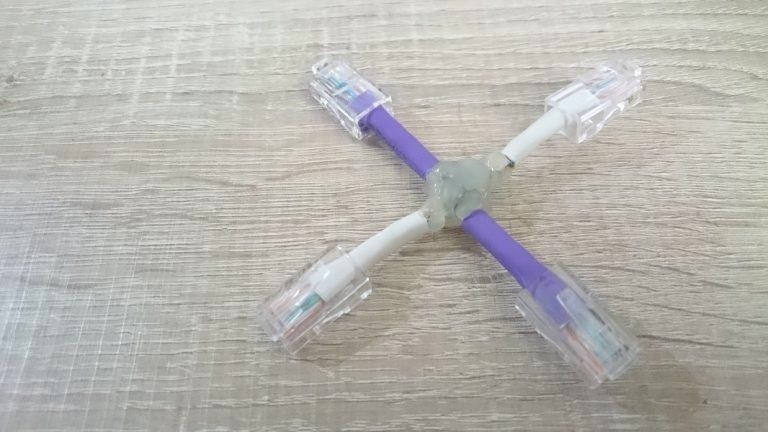 Mohamed Ahmed " width="532" height="532" style="max-width:532px;height:auto;"/>
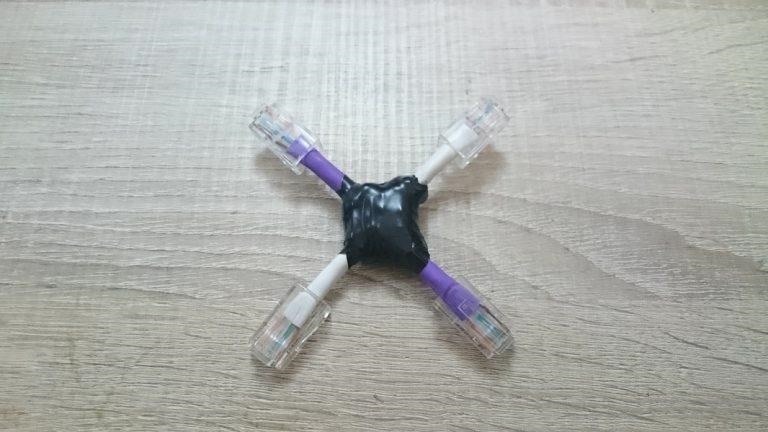
In the end we finished with a little more tape for an aesthetic question than anything else. And Voila!
 Mohamed Ahmed " width="532" height="532" style="max-width:532px;height:auto;"/>
# finally :
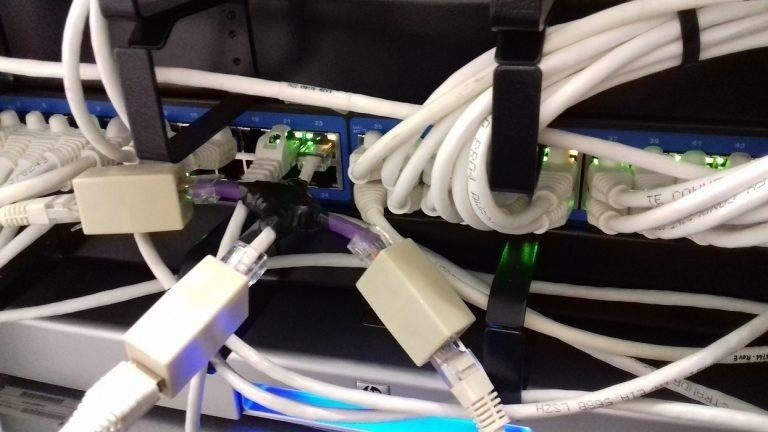
We can start using it now. Each monitoring port captures an address of the traffic, transmission or reception, so to have the complete communication we must connect each port to a network card, we open Wireshark and boom... ;)
 Mohamed Ahmed " width="532" height="532" style="max-width:532px;height:auto;"/>
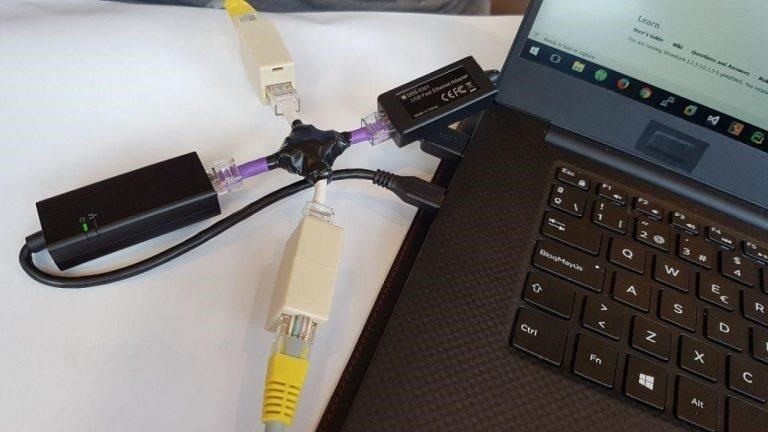 Mohamed Ahmed " width="532" height="532" style="max-width:532px;height:auto;"/>


Be the First to Respond
Share Your Thoughts