
If you need to scan a large number of domains for a specific web app vulnerability, Dorkbot may be the tool for you. Dorkbot uses search engines to locate dorks and then scan potentially vulnerable apps with a scanner module.
This tool is useful if you're managing a large number of hosts and aren't sure what may be vulnerable and what may not. It's also useful if you're a black hat looking to compromise as many machines as possible in a short time, not that we condone any black hattery here.
Before we get started, I'd like to explain the concept of a dork a little bit further. Dorks are a way of using search engines to locate vulnerable web apps. If you're thinking "that's just Google hacking," you're correct. They are essentially the same thing, though Google hacking generally has fewer negative connotations.
Essentially, when we use dorks, the goal is to search out a vulnerable application and either note it or attempt to exploit it. The internet is a big place, and if an attacker's goal is simply to amass a collection of vulnerable machines, Google dorks are the first place to start.
This style of mass-vulnerability scanning is advantageous for a few reasons: Finding targets is easy, and the search engine does the work for you. Exploiting the targets is also easy. If you've done some research, you know exactly what vulnerability you are looking to exploit. This means you have the exploit code and you've tested it.
This makes the entire attack on the vulnerable host much easier. Rather than encountering a host and going through the entire methodology of an attacking something unknown, the vulnerable hosts, in this case, come to you.
With that covered, let's get started discovering with Dorkbot.
Step 1: Install Dorkbot on Kali
For this tutorial, I will be using Kali Linux, logged in as the root user. Before we get started, we should probably update our system. Run apt in your terminal emulator to do so with the following commands.
apt update && apt upgrade
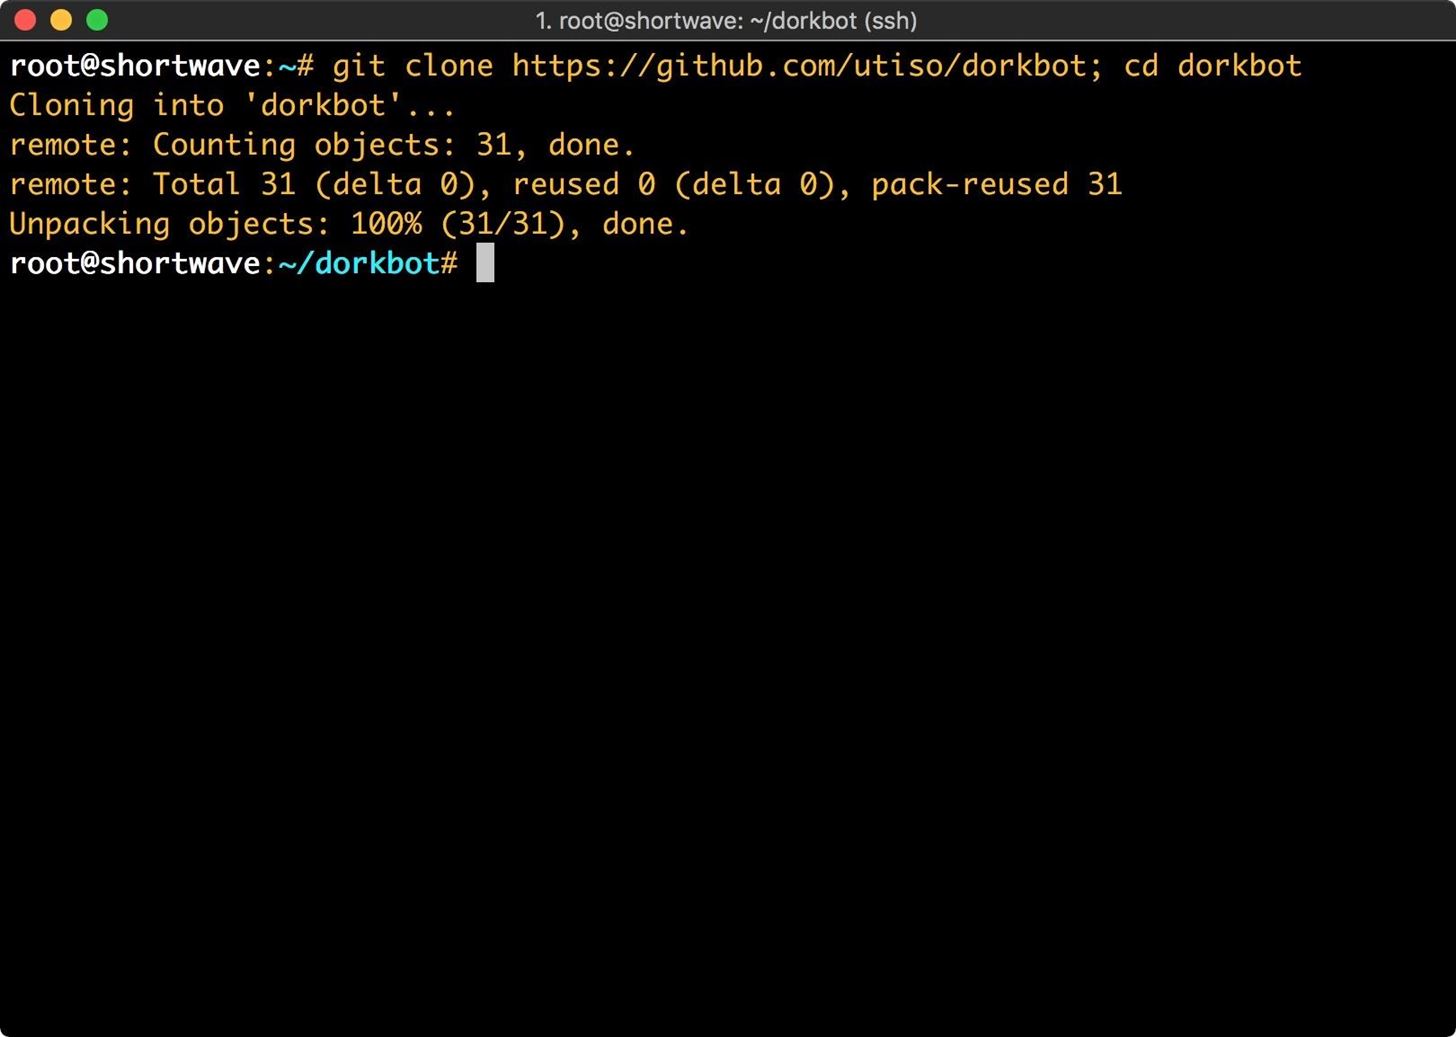
Once that command completes, we can start installing Dorkbot. The first thing to do is pull the repository off of GitHub, using git in your favorite terminal emulator.
git clone https://github.com/utiso/dorkbot; cd dorkbot
Next, you will need to download and install dependencies. The first of these is PhantomJS. We will download and extract it into the dorkbot/tools directory, and then rename the extracted folder to "phantomjs" with the following commands.
wget https://bitbucket.org/ariya/phantomjs/downloads/phantomjs-2.1.1-linux-x86_64.tar.bz2
tar vxjf phantomjs-2.1.1-linux-x86_64.tar.bz2
mv phantomjs-2.1.1-linux-x86_64 phantomjs
rm phantomjs-2.1.1-linux-x86_64.tar.bz2
The URL in the wget command may change as PhantomJS is updated, you can always check the PhantomJS site for the most recent URL. The tar command extracts the PhantomJS archive, then we rename the directory with the "mv" command so that Dorkbot can find the tool. Lastly, we remove the archive.

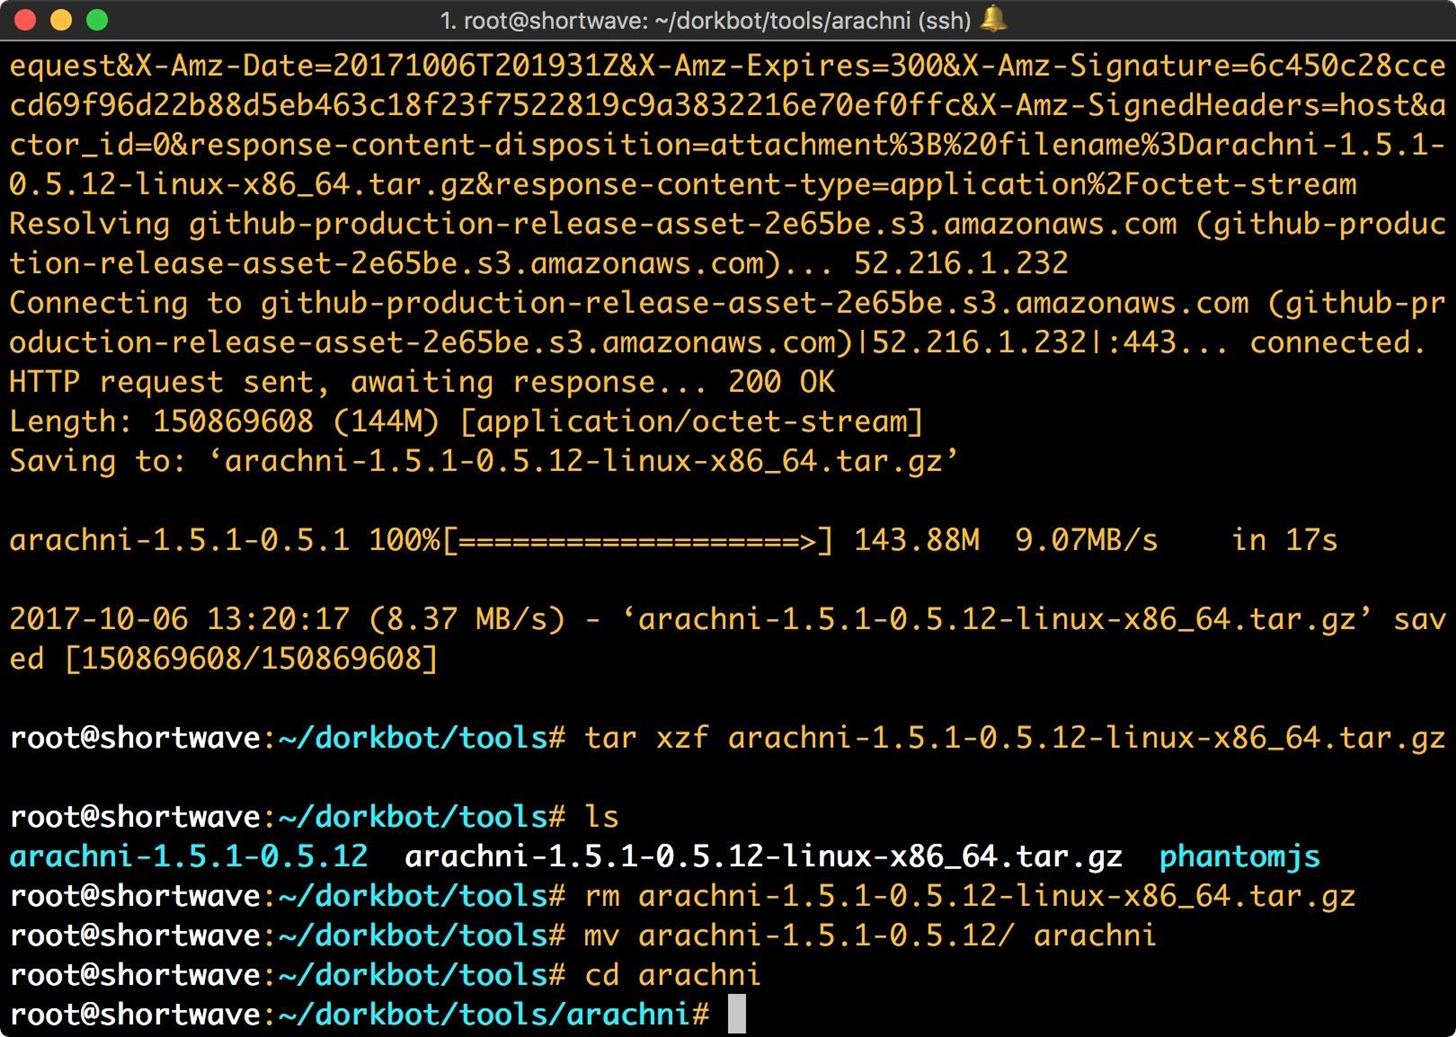
The next dependency that needs to be resolved is our scanner module. Dorkbot works with two different scanner modules, Arachni and Wapiti. You will need to select one of these to use as your scanner. After testing with Wapiti, I found that it threw errors, so I settled on Arachni. To install it, run the following in a terminal window.
wget https://github.com/Arachni/arachni/releases/download/v1.5.1/arachni-1.5.1-0.5.12-linux-x86_64.tar.gz
tar xzf arachni-1.5.1-0.5.12-linux-x86_64.tar.gz
mv arachni-1.5.1-0.5.12
rm arachni-1.5.1-0.5.12-linux-x86_64.tar.gz
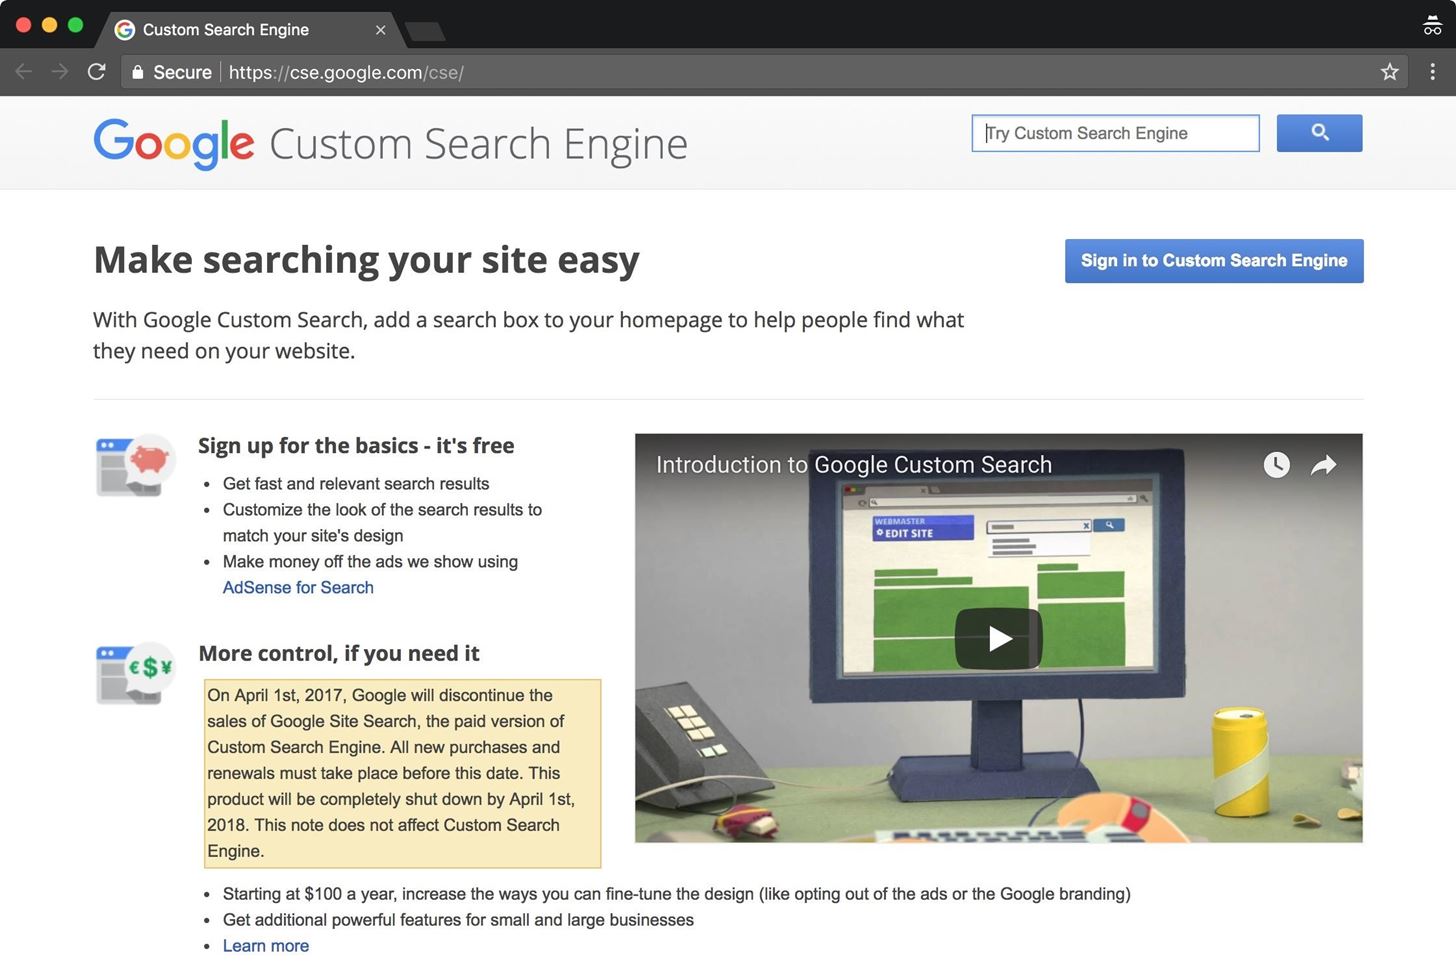
In the next portion of this setup, we need to create a Google custom search engine. Dorkbot uses the custom search engine to locate potentially vulnerable web applications.
You will need a Google account for this step. To get started, click on the "Sign in to Custom Search Engine" button. You will be prompted to enter your credentials.
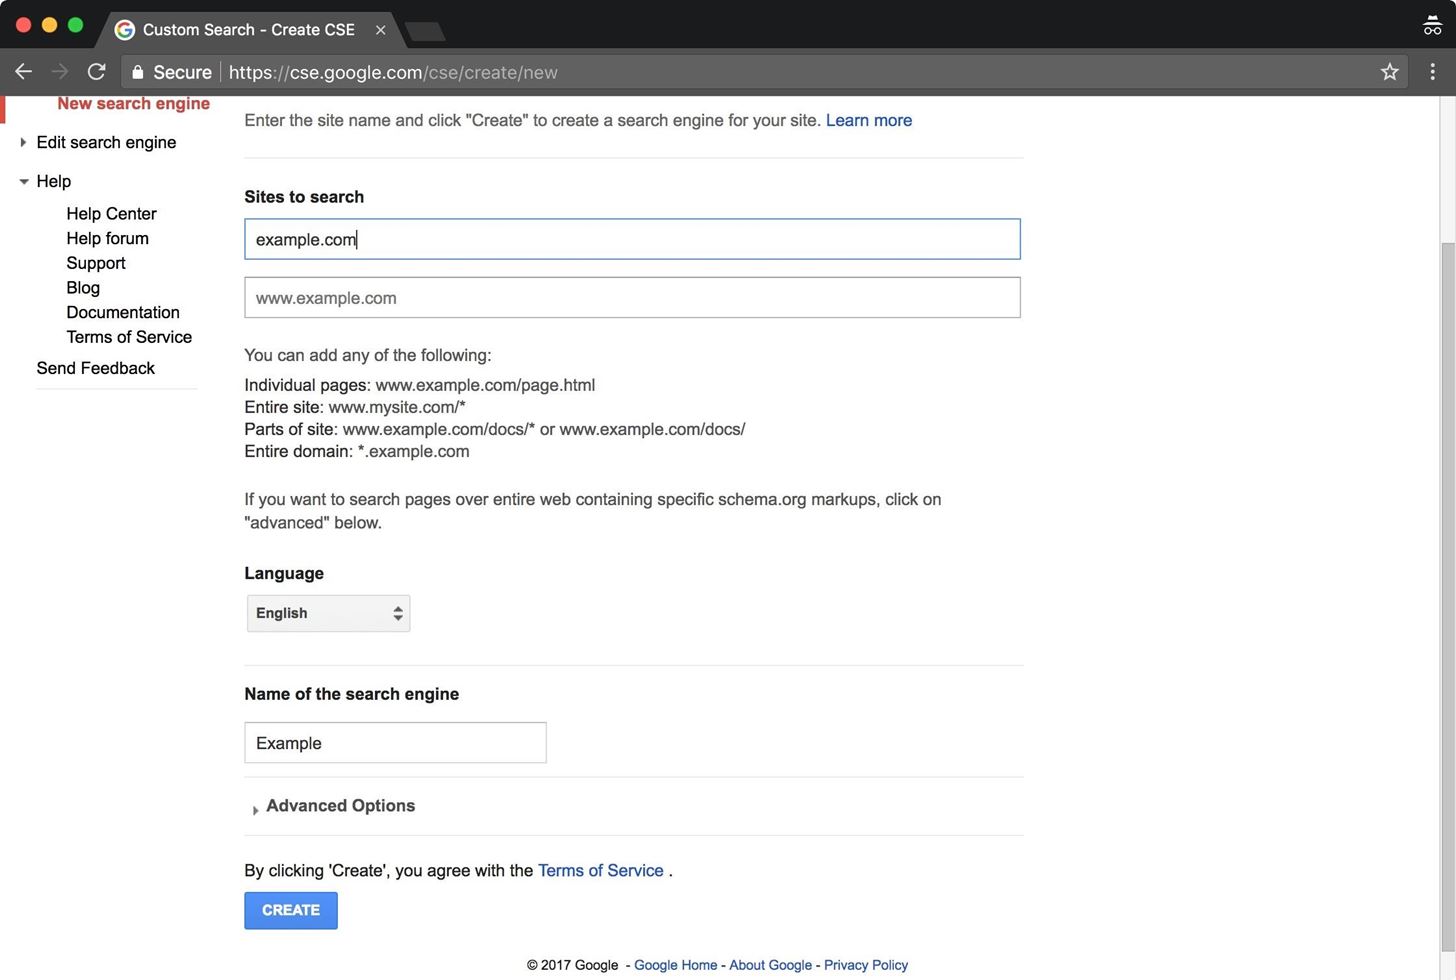
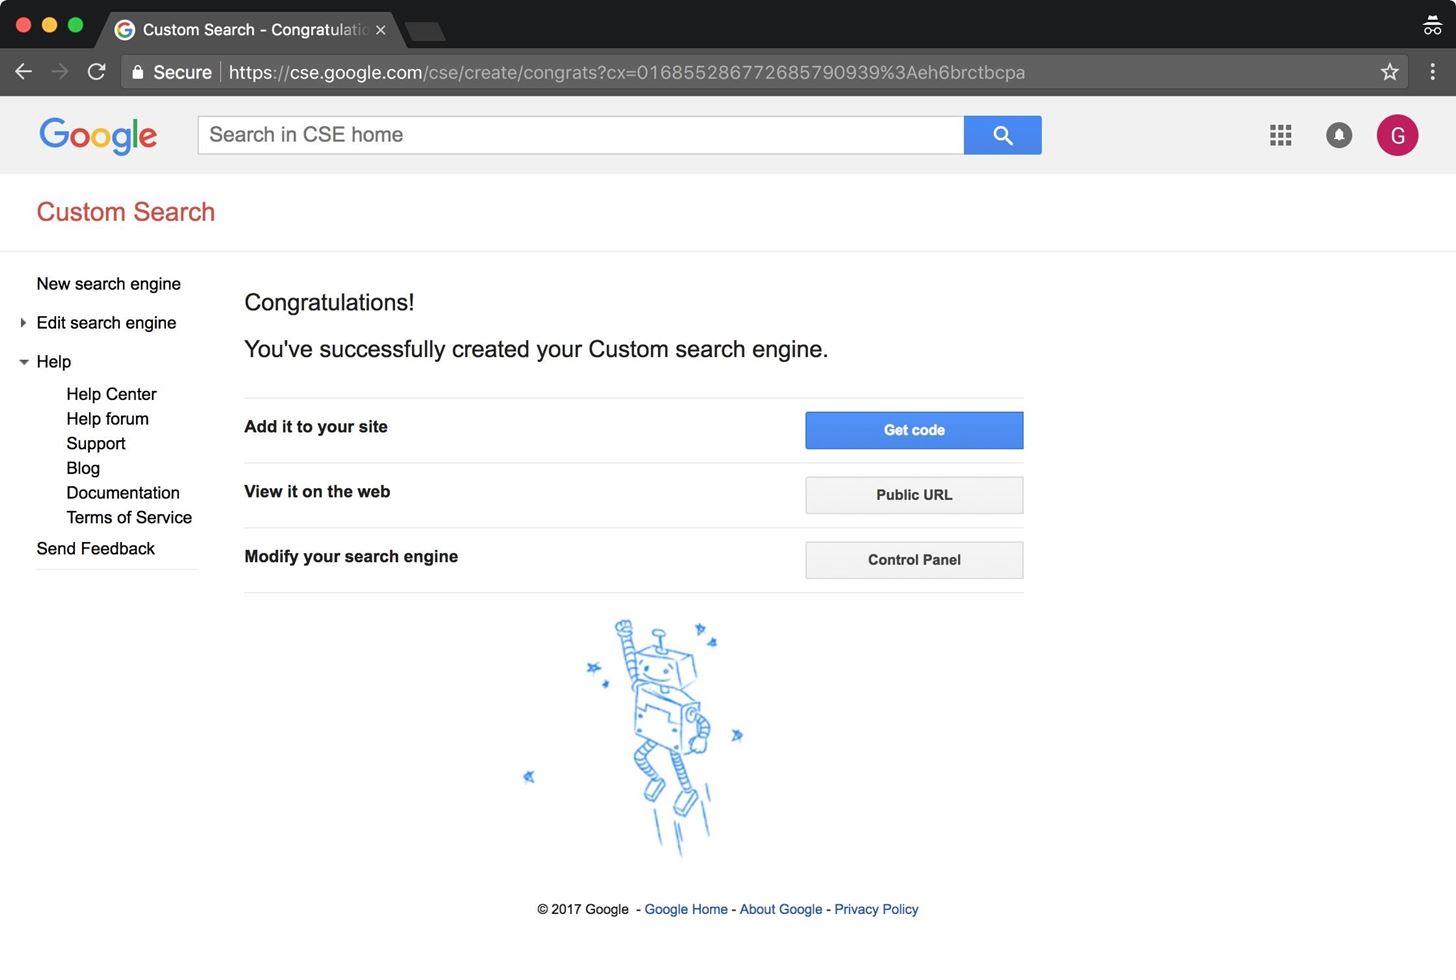
In order to get be able to search the entire web, we're going to have to do a bit of additional configuration on this custom search engine. First, we enter "example.com" in the Sites to search field. Then, we click the "Create" button to continue.
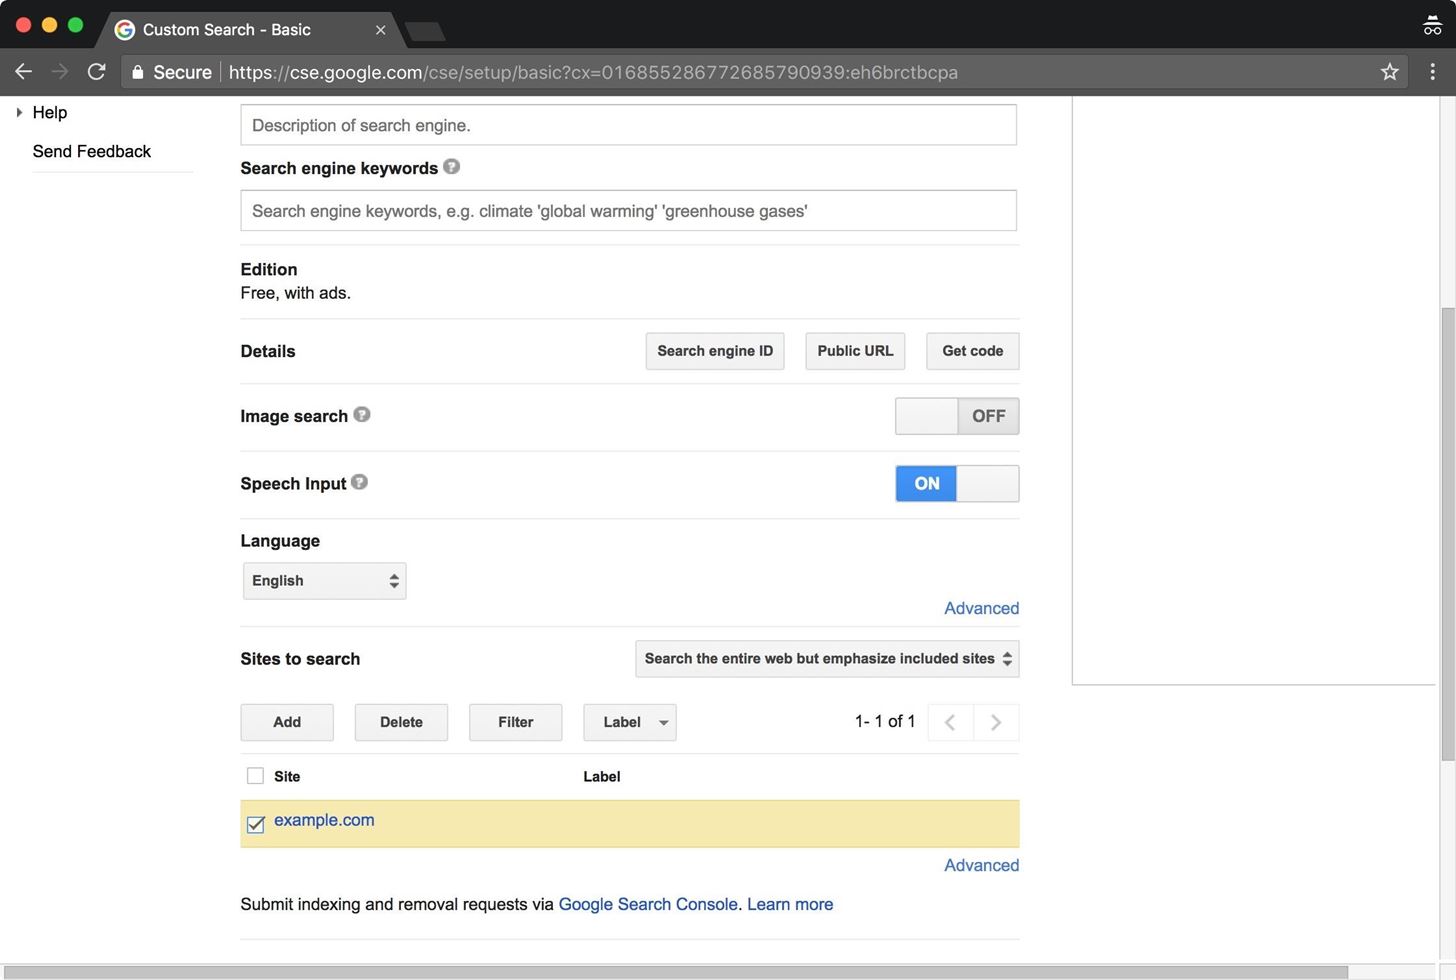
We're not done yet! This engine will only search within example.com, which isn't very useful to us. We need to change the engine to search the entire web.
Select the "Edit search engine" drop-down menu, and choose your custom search engine. Scroll down the page to the "Search only included sites" menu. Change the setting to "Search the entire web but emphasize included sites." Then, check your included site and delete it.
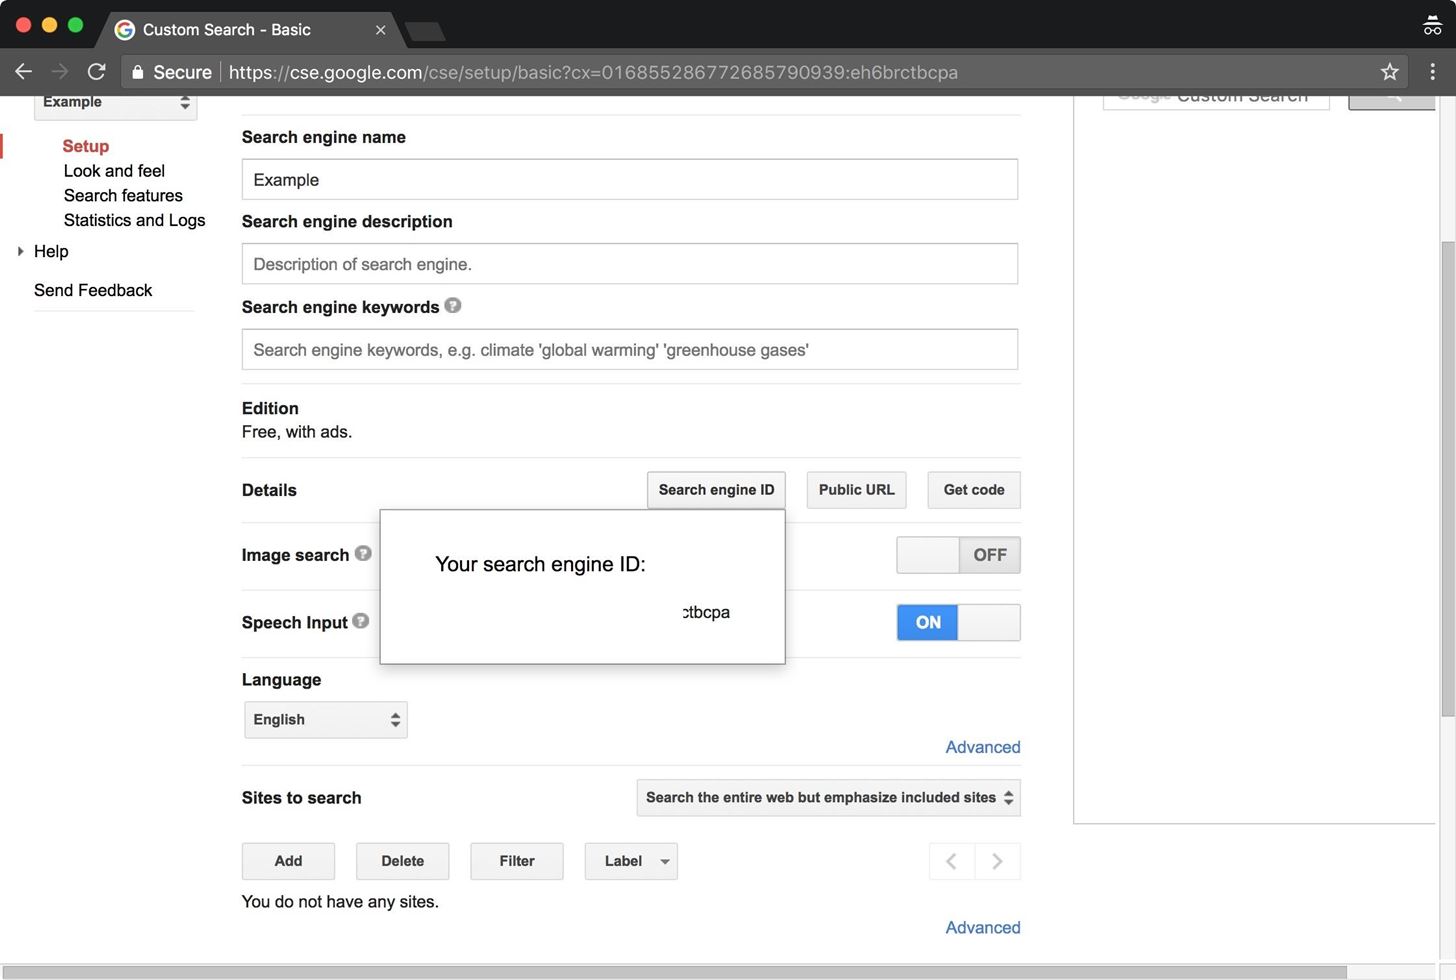
Lastly, we need to get the search engine ID, which we will be passing to Dorkbot. This can be found by clicking the "Search Engine ID" button.
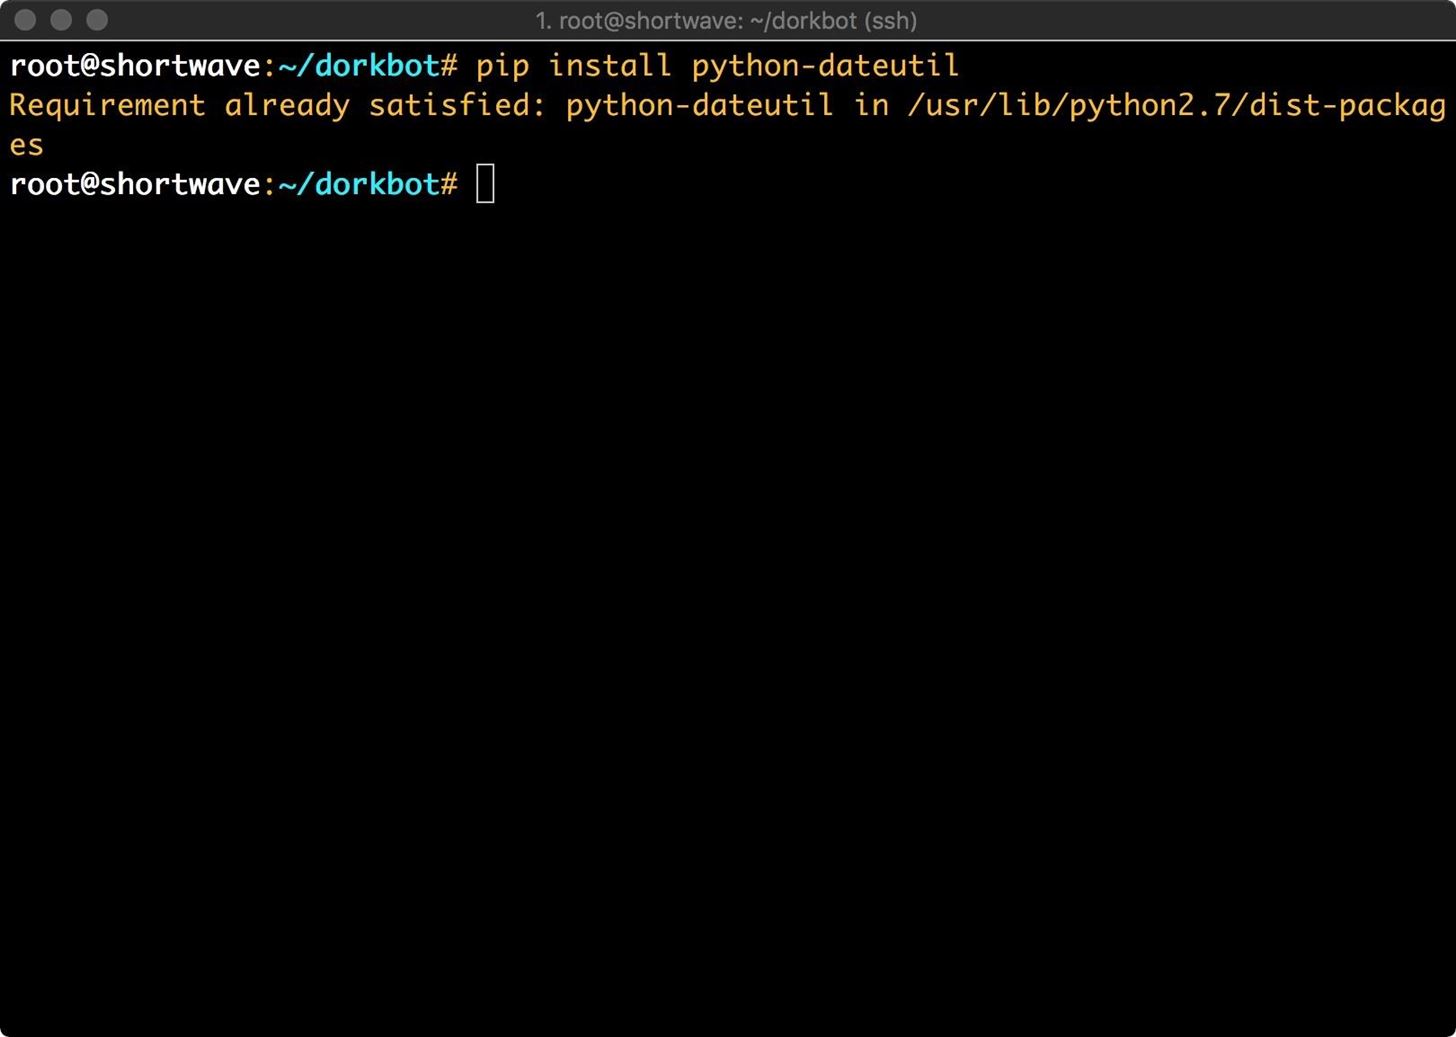
The last step is installing Python date-util with pip. Do so by running the following in terminal.
pip install python-dateutil
In my case, this package was already installed.
Now that we have the tool configured and installed, it's time to get down to using it.
Step 2: Run Dorkbot to Find Vulnerable Sites
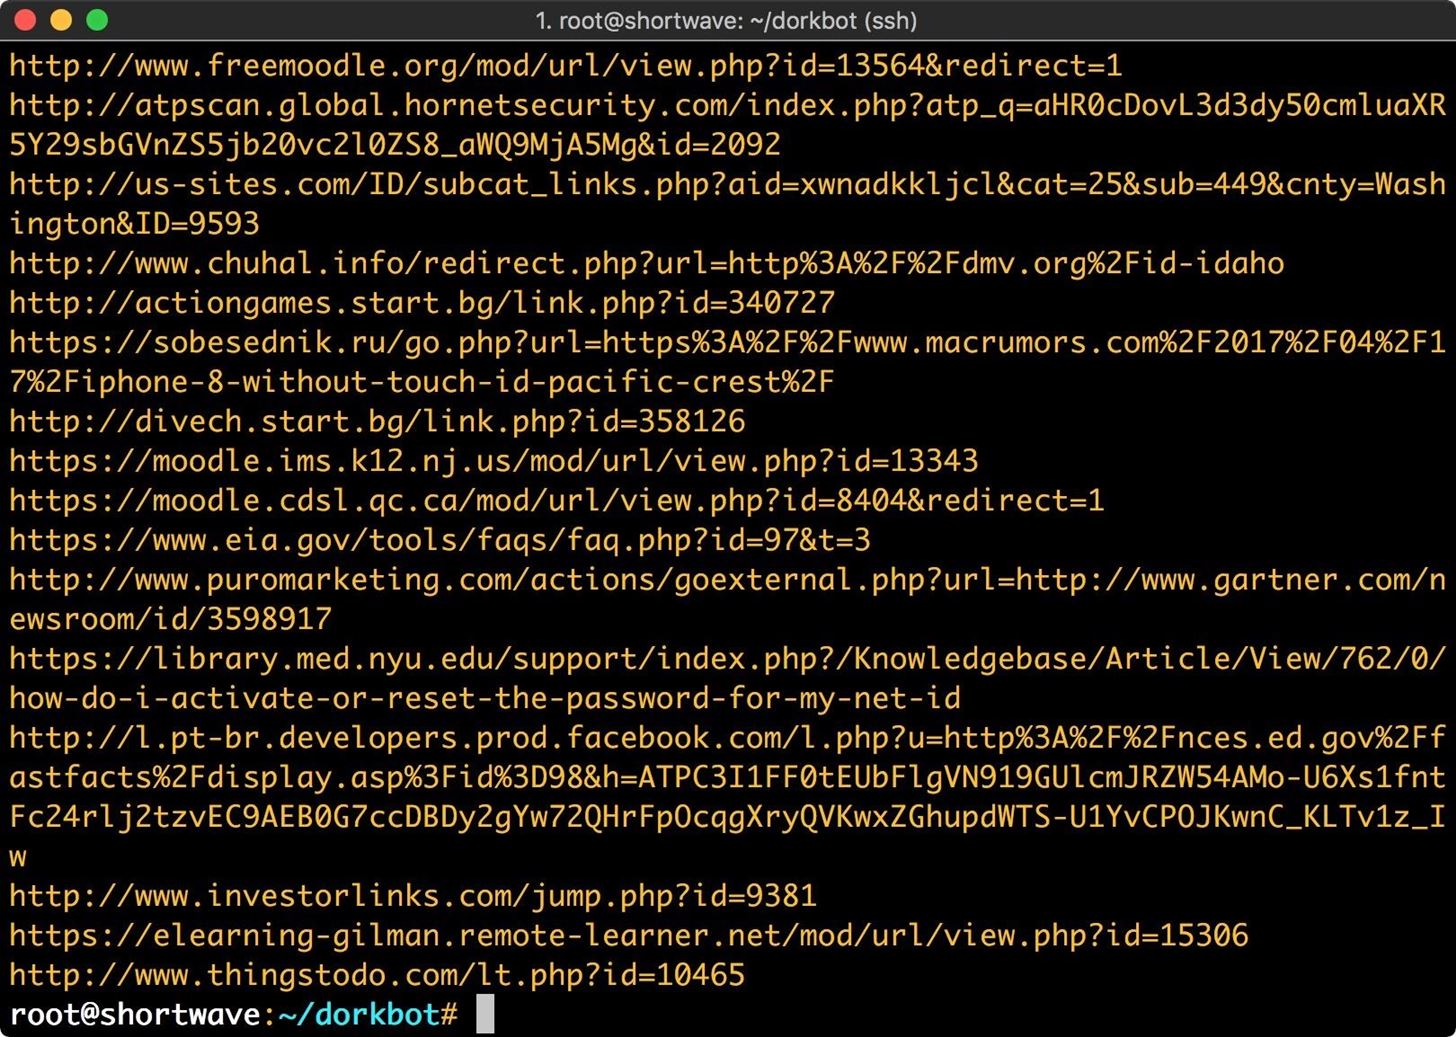
Dorkbot has two distinct components: the indexer and the scanner. The indexer will search for dorks and store its findings. The scanner will follow up on those dorks and try to confirm the presence of vulnerabilities. Our first step is to scan for vulnerable sites. We'll do this by running the following in our terminal window.
./dorkbot.py -i google -o engine=yourGoogleCSEHere,query="filetype:php inurl:id"
This will use your custom Google search engine to locate sites with PHP files and a URL containing "id."
This will not pass any results to the automated scanner. The -i argument tells Dorkbot to use Google as its indexer, and the -o engine= is passing indexer options, telling Dorkbot to use our custom search engine. The query= is the query to pass to Google.
We can use Dorkbot with the -l argument to list these later. So far, everything we've done has been completely acceptable. We're essentially just Google searching. We get into much trickier territory if we start using the scanner module to look for vulnerabilities. Let's try that by typing the following.
./dorkbot.py -i google -o engine=yourCseKeyHere,query="filetype:php inurl:id" -s arachni
Executing this command would pass the sites to Arachni for further processing. Depending on where you reside, executing this may be illegal. Even if it is legal, I wouldn't recommend it. Your ISP may receive an email about abuse of services, leading to a nasty phone call or potentially being dropped as a customer.
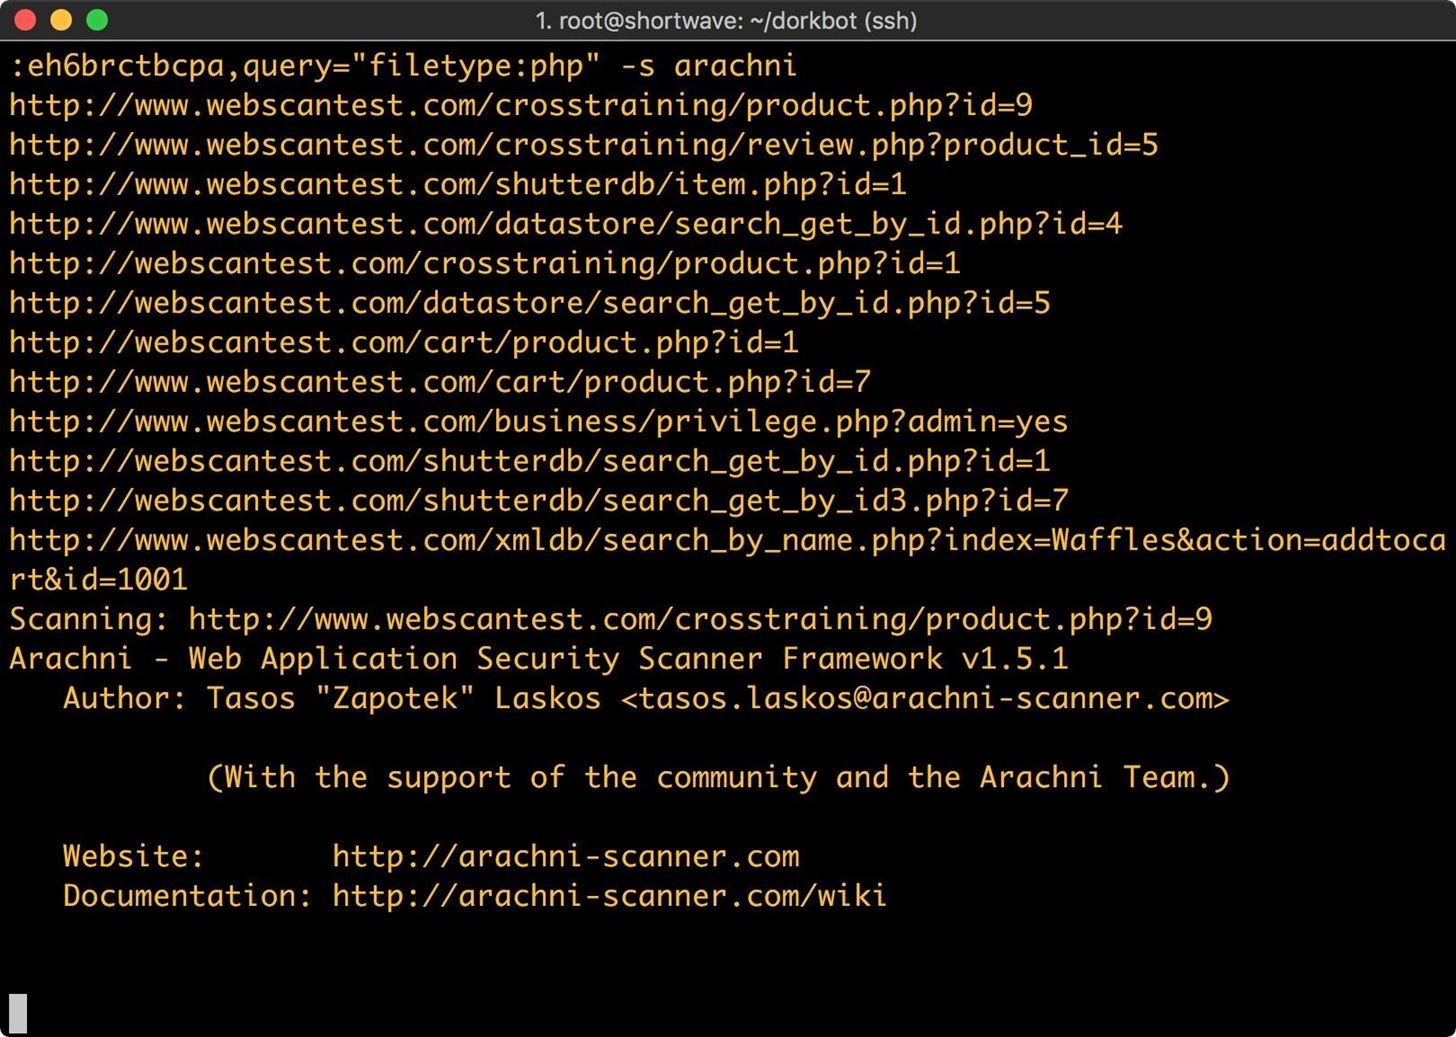
Fortunately, you can configure your Google custom search engine to search specifically within a single site that you own or have been given permission to scan. I'm going to go back and reconfigure my custom search engine to only search webscantest.com.
Since Dorkbot maintains a database of returned dorks, you will need to delete this database to prevent Dorkbot from scanning hosts already in the database. We'll do so by typing these commands in terminal.
rm /path/to/dorkbot/databases/dorkbot.db
./dorkbot.py -i google -o engine=yourGoogleCseHere,query="filetype:php" -s arachni
Step 3: Finding Vulnerable Hosts
An attacker wishing to compromise the largest amount of systems possible in a short amount of time needs to cast a wide net. Dorkbot is designed to handle this, but how would you find vulnerabilities to target?
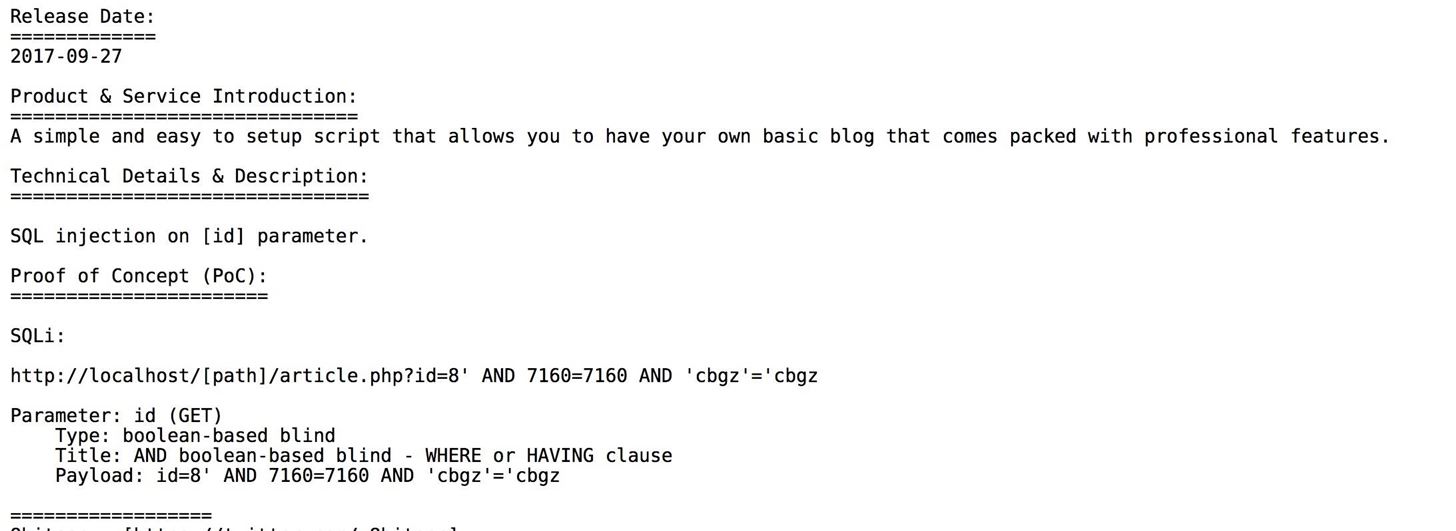
I recommend the Exploit-DB for this. There's an entire section dedicated to web applications. For example, you could use a recently-discovered exploit in EasyBlog as your search query.
Our previous searches would include this app and many more. You will have to hone your skills with Google in order to narrow down the number of false positives. If you Google for Google dorks, you will find many more queries that you can use.
Dorks Are Useful for Mass-Scanning
If your goal is to mass-scan for vulnerabilities, Dorkbot is a solid tool worth exploring. With a bit of work on the user's part, it would be possible to almost completely automate the locating, scanning, and attacking of a particular vulnerable service. Spending some time finding semi-recent vulnerabilities and honing in on sites running specific software that is known to be exploitable could lead to many compromised machines.
In this article, I demonstrated the configuration of a Google custom search to access the entire web. While you can do this, I wouldn't recommend it. Instead, use the custom search to scan and target domains within your control to stay legal. While working with Dorkbot, remember that it's fine to search, but connecting can be an issue.
Thanks for reading! You can leave any comments here or on Twitter @0xBarrow.
Just updated your iPhone? You'll find new emoji, enhanced security, podcast transcripts, Apple Cash virtual numbers, and other useful features. There are even new additions hidden within Safari. Find out what's new and changed on your iPhone with the iOS 17.4 update.


2 Comments
Very nice. Great job
Hey guys! I made my own tool and it's easier to use. Additionally, you can have the tool automatically scan over more than 4000 dorks automatically! Please check it out and let me know what you think!
github.com/prykon/GDAT
Share Your Thoughts