
The easiest way around a security policy is to find users who don't follow it. The Have I Been Pwned database identifies accounts with information breached by major third parties like Yahoo and LinkedIn. With Maltego, hackers can locate breached accounts created using company email addresses, potentially giving attackers access to a company account if the employee reuses a compromised password.
Follow along with the video above to learn how to use Maltego to target company email addresses that may have a vulnerable password. You can also refer to article below for more information (jump right to the steps if you want!).
OSINT for Recon
When a hacker targets an organization, reconnaissance is the phase of observing the target until a particular "weakest link" makes itself apparent. This initial research will identify the best way to achieve whatever the hacker's agenda is and will often start by identifying easy methods of gaining access, like targeting employees with poor security hygiene.
Because sending phishing emails to steal account credentials is the most common way hackers break into a network, it's helpful for a hacker to be able to locate users who may be particularly vulnerable to this kind of attack. A hacker can save considerable time by using open-source intelligence (OSINT) techniques to research a target and look for opportunities indicated by human behavior, like creating third-party accounts with company email addresses.
Hackers have many OSINT tools available for researching targets, but for answering more complex research questions or for conducting an investigation, Maltego is an excellent choice. Maltego can take a single piece of information and discover links to more pieces of data, allowing us to pull together a more complete picture in order to answer a question. In this case, the question we want to know is if any employees have entered their work email into a third-party website and had their credentials breached. If possible, we'd also like to track down the actual password the target had lost in the breach.
How Maltego Discovers Information
Maltego is an OSINT investigation tool designed to answer questions by pulling in related information via API pulls and then comparing the data to look for meaningful relationships. This helps a human investigator by presenting relationships between data in a clear and understandable way that might not immediately be obvious. Maltego is also great at starting with a single point of information and expanding to include much more data as different transforms are run. Transforms are a hybrid between an API pull and an algorithm to sort the data returned, which Maltego uses to find and display relationships.
Taking this model, we can use Maltego transforms to break down a question into smaller pieces. In this case, we will need to locate email addresses associated the organization we are targeting. Next, we will need to expand the sample of email addresses we have to include as many samples as possible. When we have a good sample size, we can use a special transform to search databases of breached accounts to locate whether any of the emails we've found have been involved in a breach. Finally, we can enrich the breach data to learn about what details were lost and when the breach occurred.
Why the Weakest Link Is Usually Employees
While Maltego is often used for targeting infrastructure, we can also use it to target people. To do this, we will focus on the ways people identify themselves online. This usually means tracking screen names, email addresses, aliases, and other pieces of information that link a person to an organization or service. In this case, we'll be harvesting email addresses as our primary people-tracking method.
A hacker can use this ability to track users across the internet or mine for relationships between users and organizations. While Maltego shines in its social media monitoring and tracking abilities, we'll simply be using various data scraping techniques to gather more employee email addresses into our data set to look for behaviors associated with a lack of concern for security.
In the worst-case scenario, a target could be unlucky enough to be reusing the same password between their company account and other third-party accounts. If the third party account password and email combination are stolen and leaked, a hacker could breach the victim's other accounts using the stolen username and password combination.
The 'Have I Been Pwned' Transform & Website
The Maltego transform we will use to preform this investigation is the Have I Been Pwned transform, which will query a database of breached personal information which has been leaked online and compiled. This database is maintained by researchers in order to easily identify if a particular email address has been invovled in a breach.
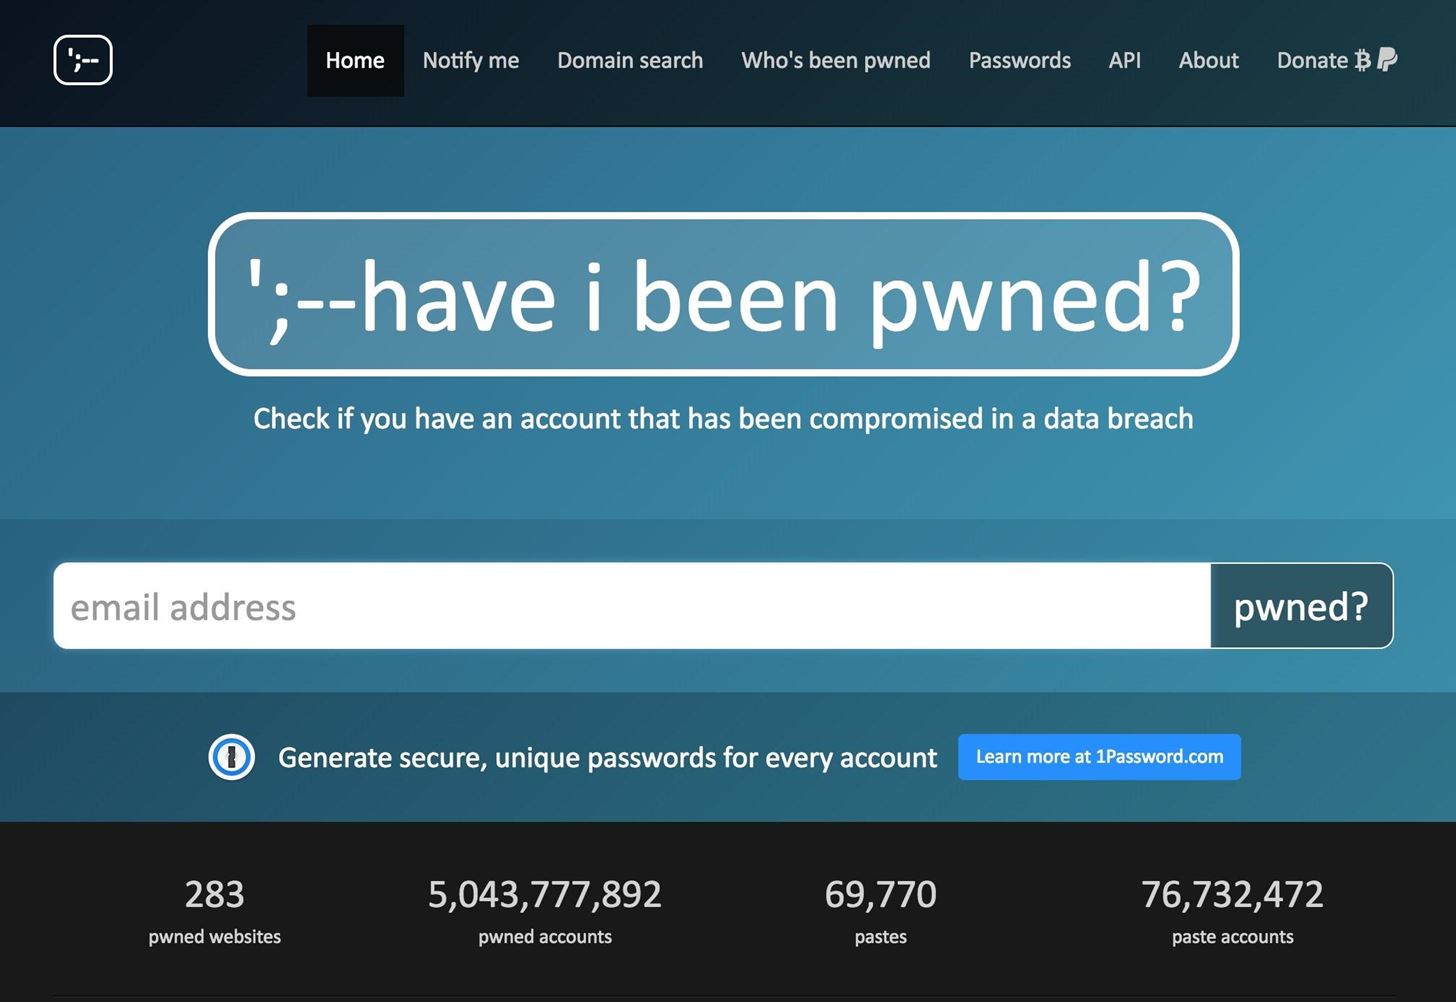
While the web version allows you to do one search at a time, using the Maltego transform to run the query allows us to search for many email addresses at the same time.
Step 1: Install Maltego
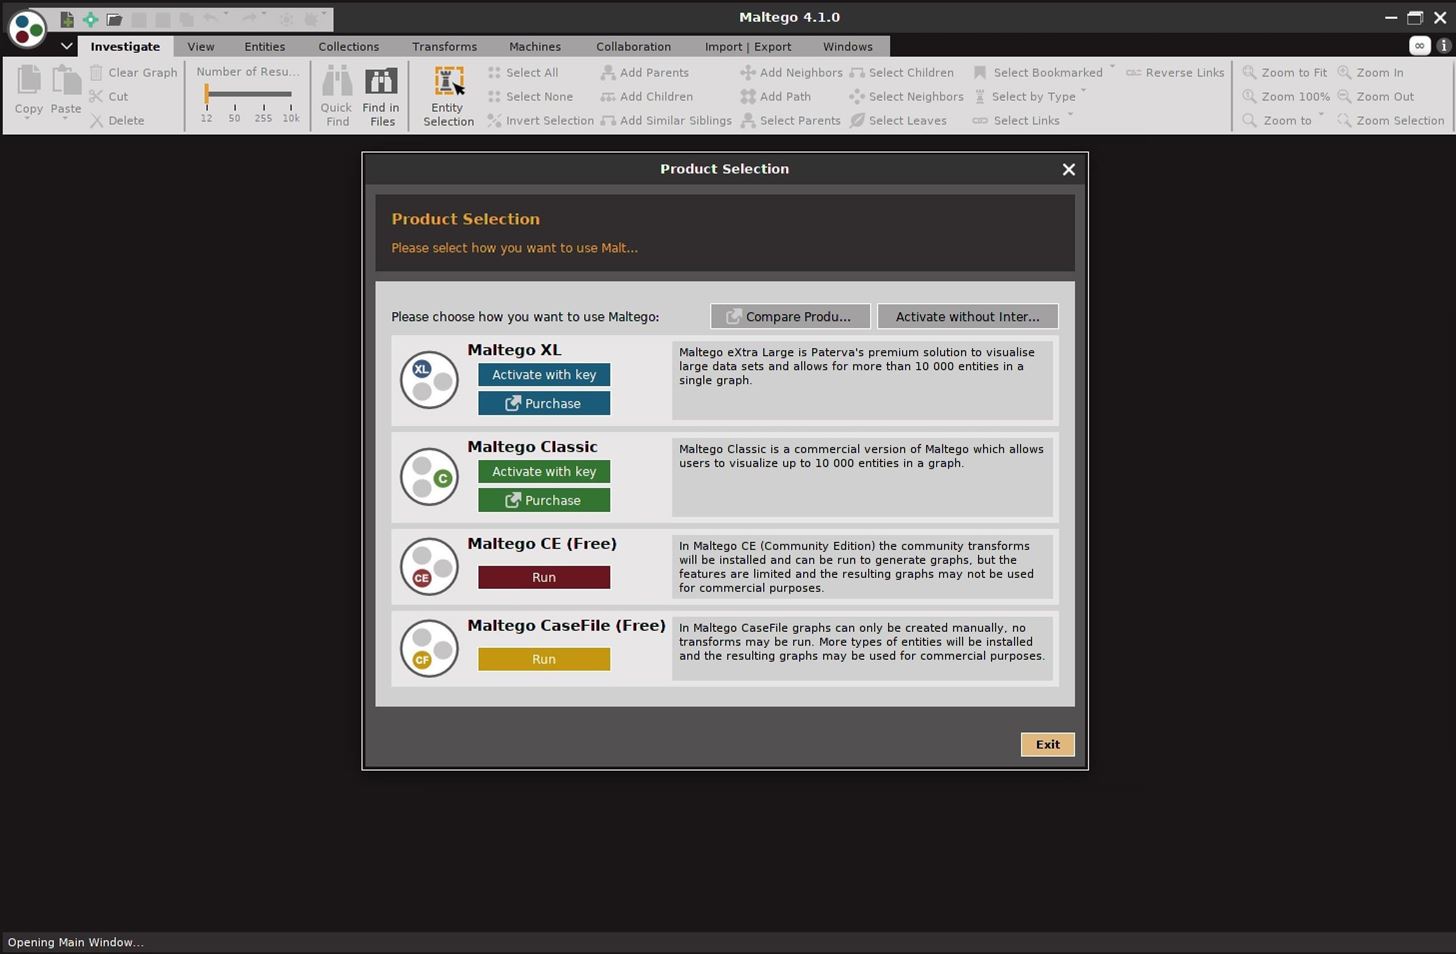
To install Maltego, you'll need to have Java installed on your machine (Maltego uses Java 8 and does not support Java 9 at this time). If you're using Kali Linux, Maltego should be installed by default on your virtual machine or install. If you're using macOS or Windows, you can simply download Maltego Community Edition from the Paterva website.
Once you install Maltego, you should be able to open the application and log in. You will need to create a free account with Paterva to use the Community version.
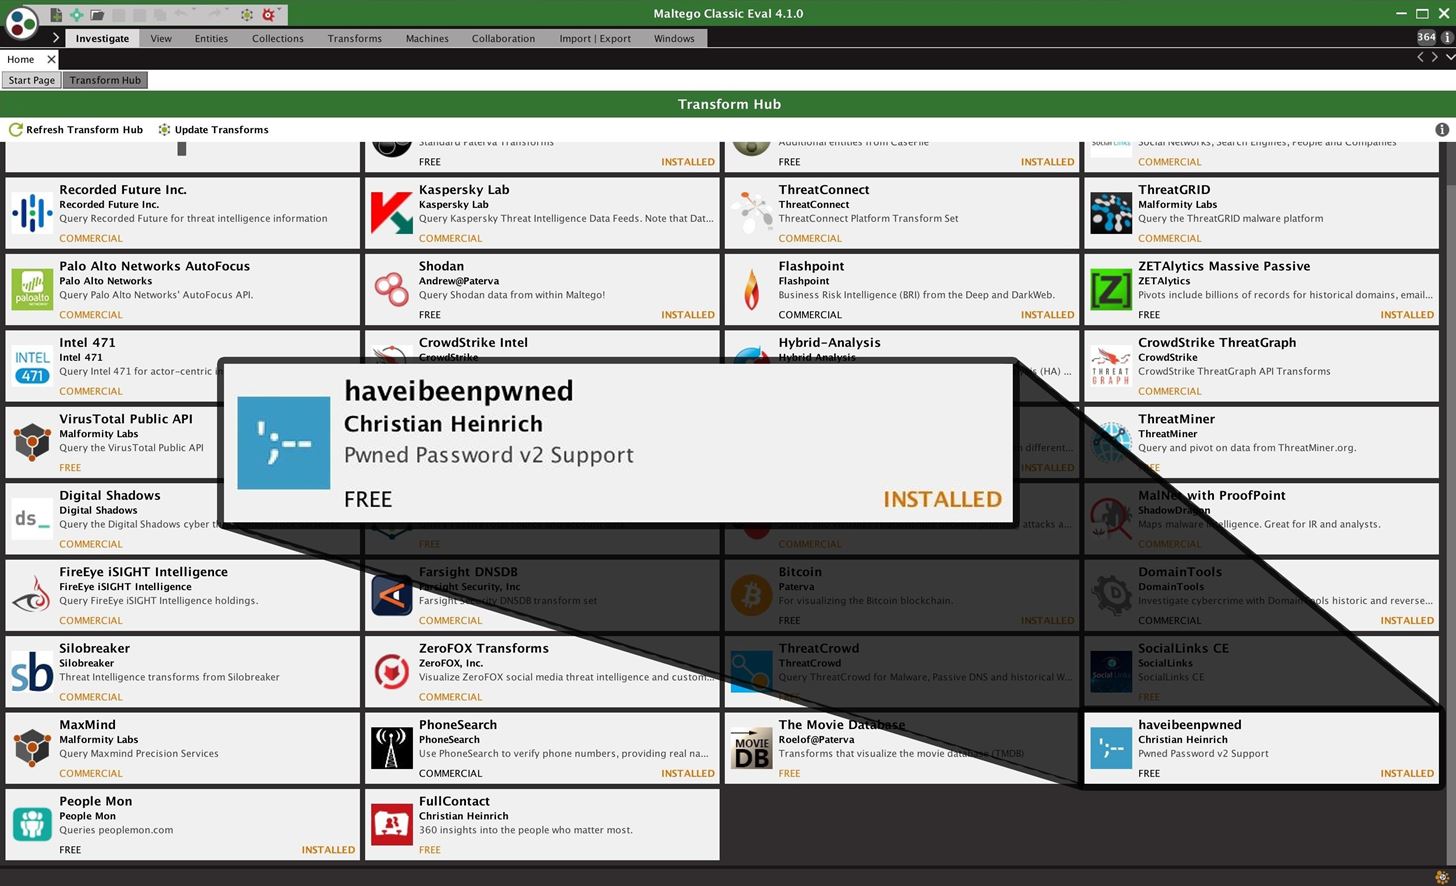
Step 2: Install the HaveIBeenPwned Transform
Once you log in, you should be redirected to the main transform hub. Here, you can install free and paid transforms to enrich data you find. We will need to make sure the "haveibeenpwned" transform has been installed, which can be found in the lower-right corner in the example below.
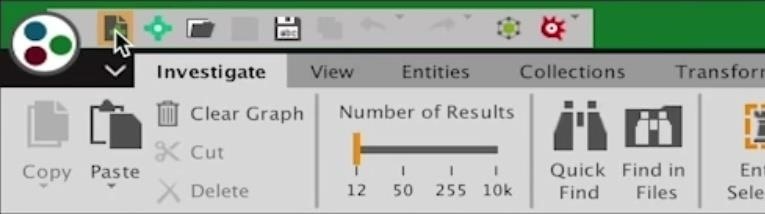
Step 3: Create a New Graph
When the "haveibeenpwned" transform is installed, you can click on the document icon with the green plus on it in the top-left corner of Maltego to create a blank canvas. This is where we will start our investigation.
Step 4: Find Email Addresses from an Organization
To get started with scraping email addresses from an organization, we can either use the "Company Stalker" machine, which provides a simple way of scraping a lot of data all at once, or add the company domain to our blank canvas.
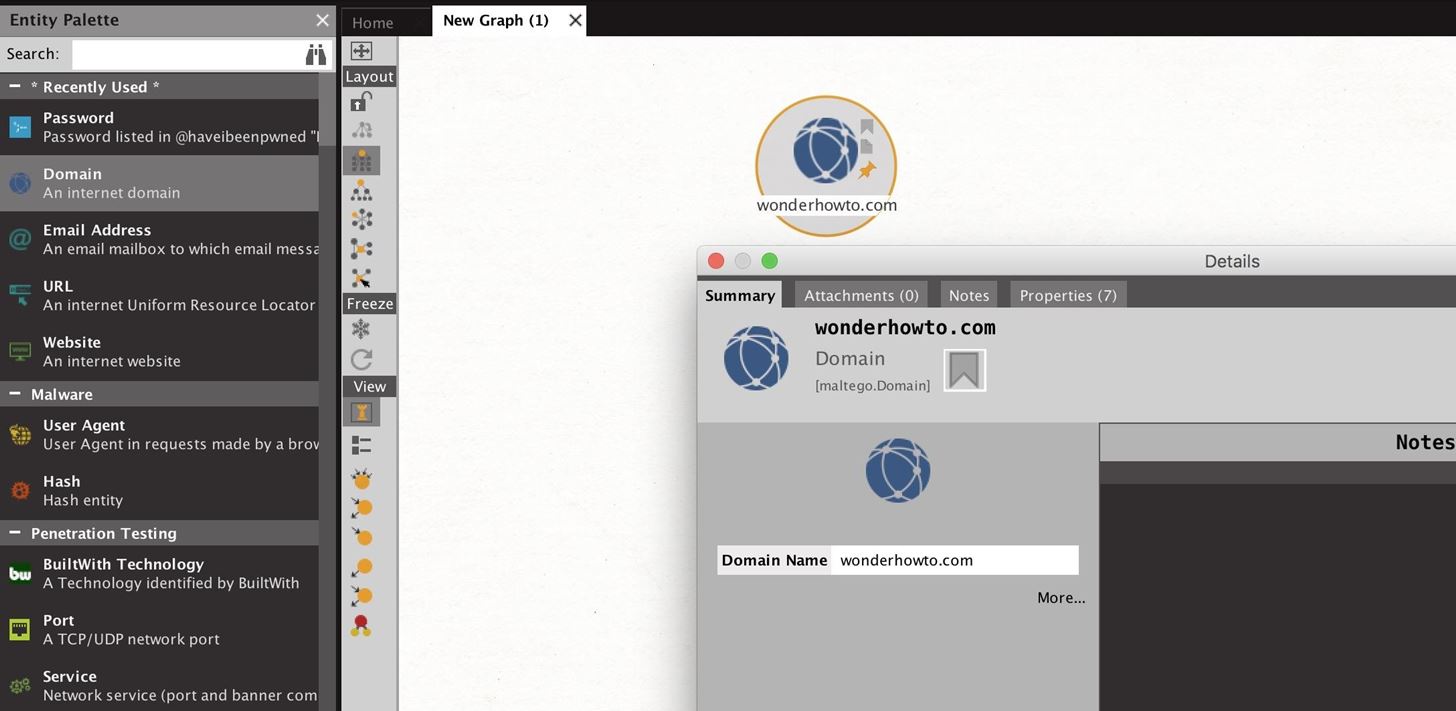
To add an entity to our canvas, we can select any of the icons in the left entity palate and drag and drop them into the main graph. By double-clicking the entity you added to the graph, you can add information or access properties of the entity.
The "Company Stalker" can quickly take a single domain and attempt to find both related email addresses and any other information that might be relevant from that domain. This is a fast way to get started by using a chain of transforms designed to start your investigation with some juicy data points to follow.
To start a machine, click on the "Machines" tab near the top of the Maltego window. Next, click the "Run Machine" icon to select which machine to run.
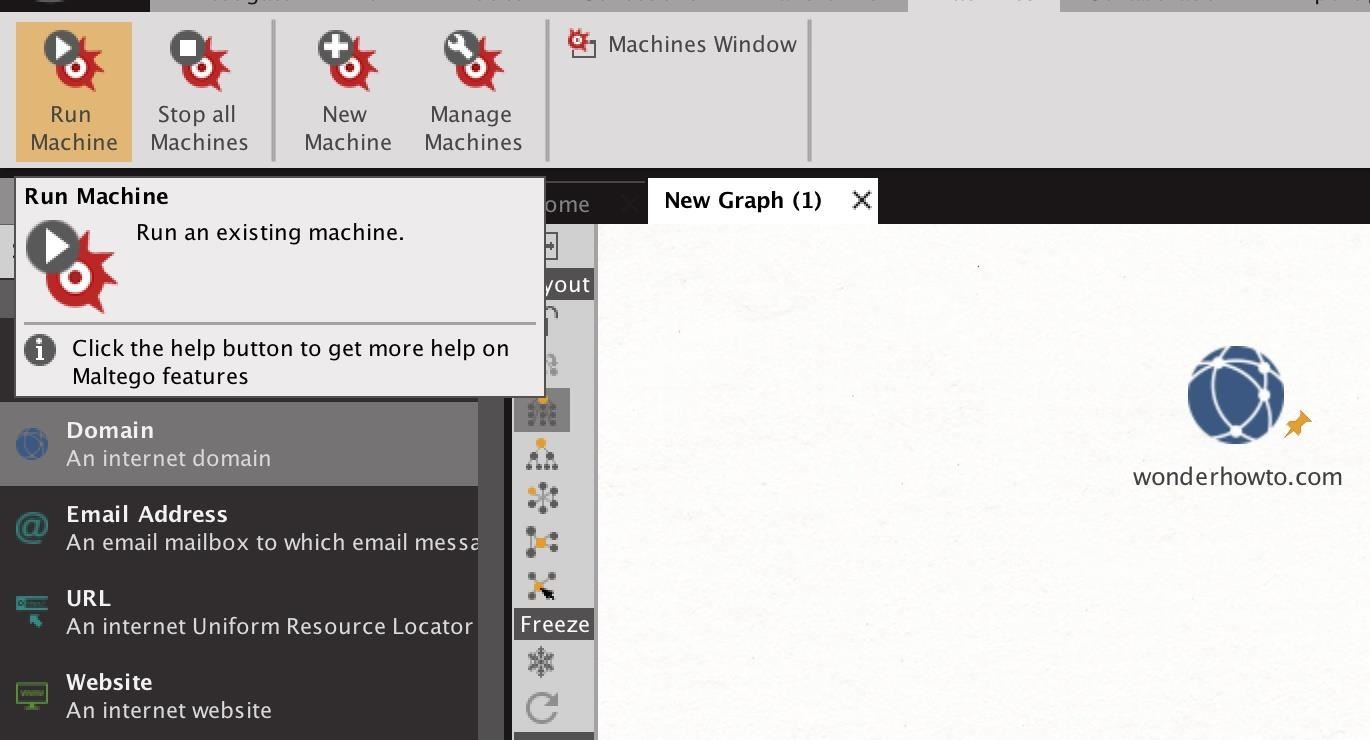
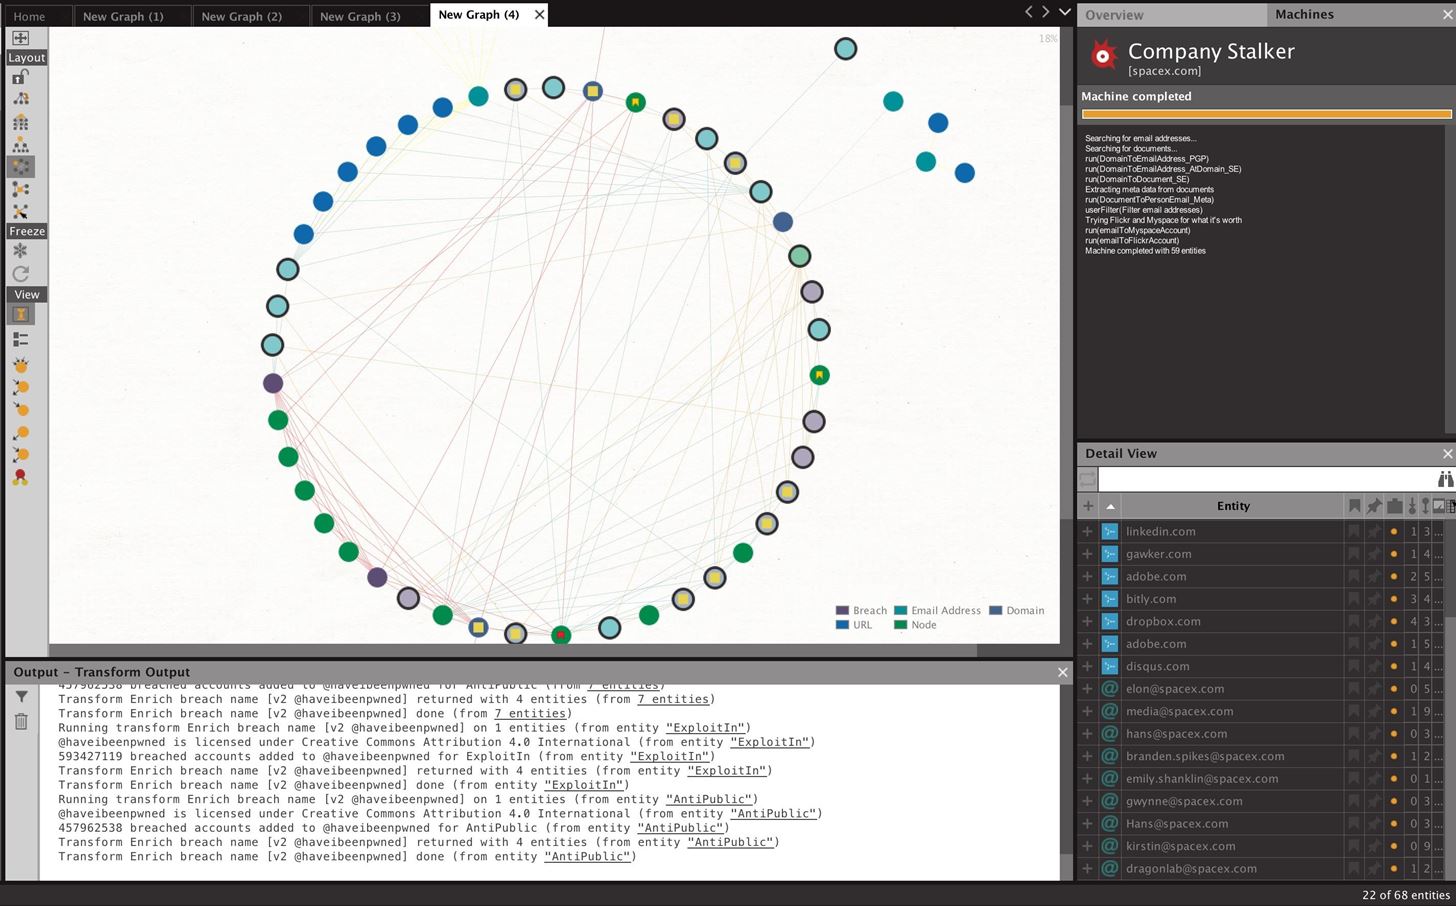
From the Start a Machine window, you can select which machine you want to run. In this case, select the "Company Stalker."
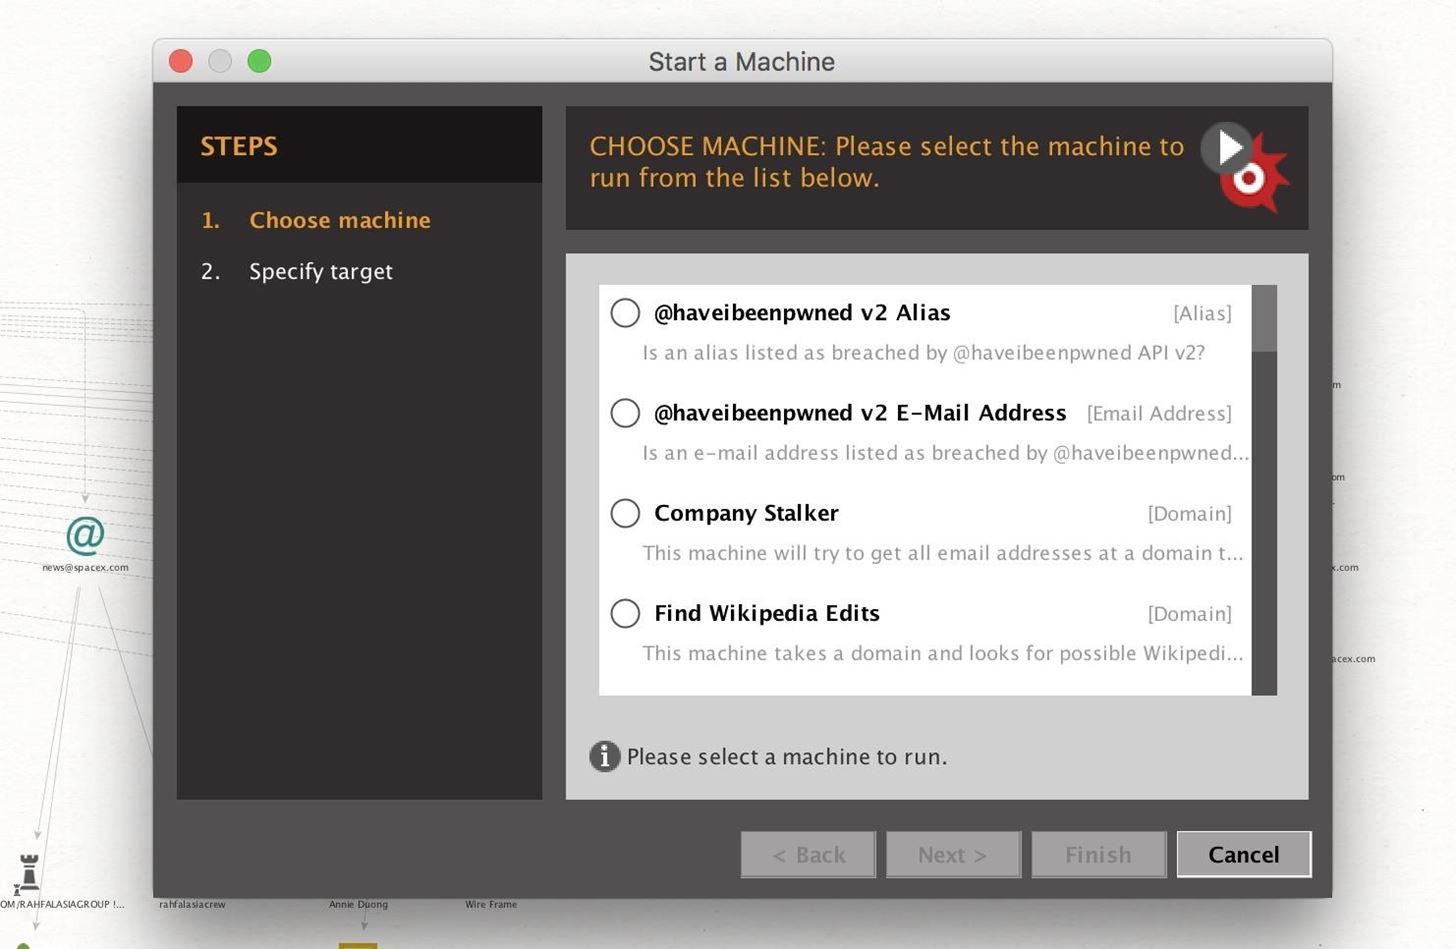
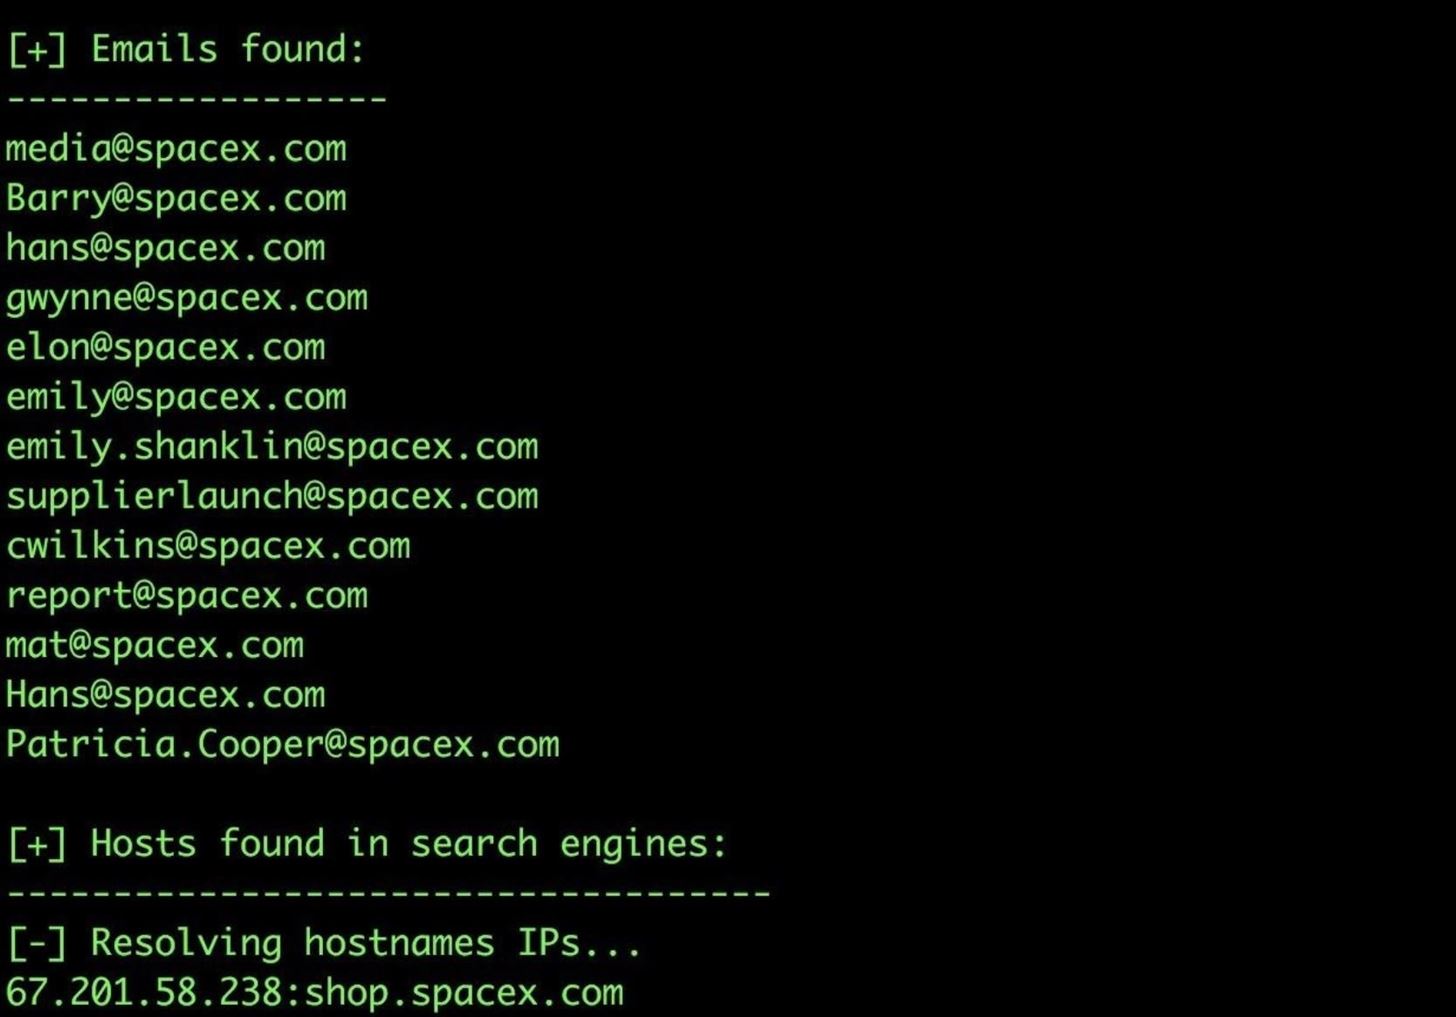
Next, enter the name of the domain you wish to find email addresses from. Click "Finish" when you're done to run the machine. Here, we use the example SpaceX.com to show a larger collection of data being found.

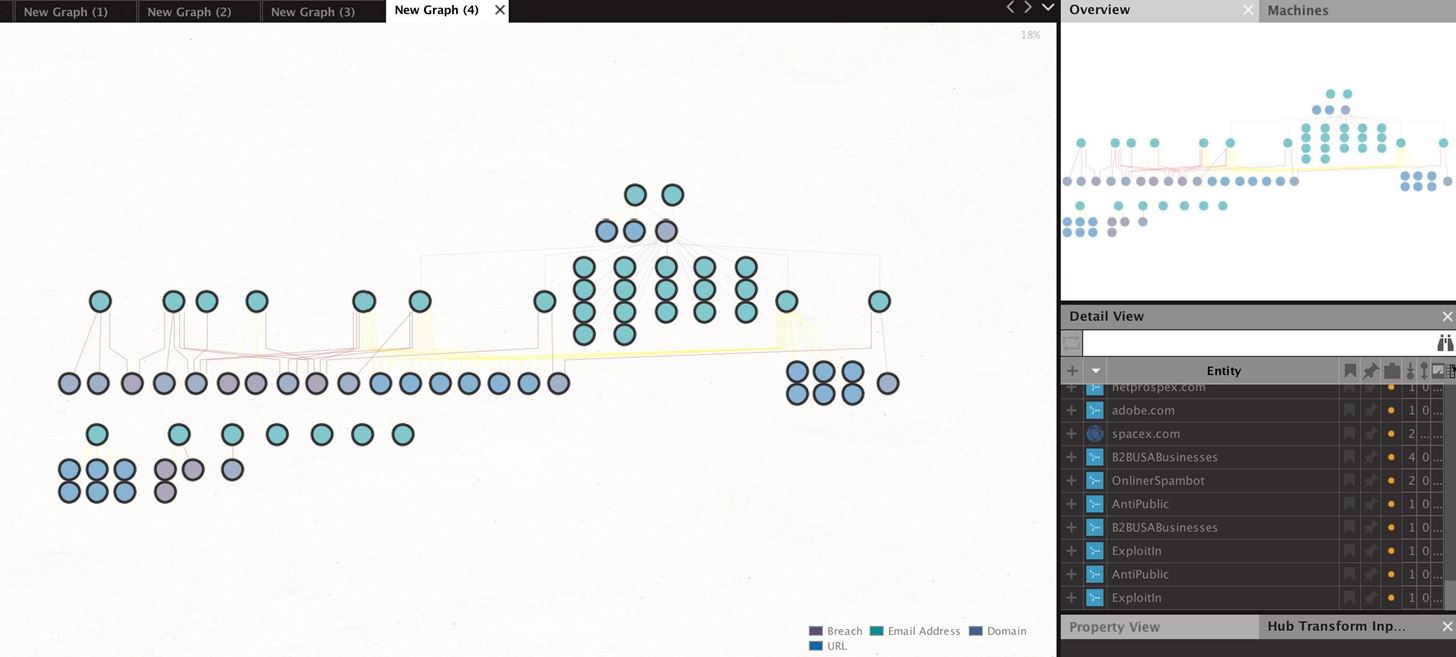
After clicking "Finish," you will begin to see data appear on the graph. This should be a mix of email addresses, found documents, persons identified, and other data Maltego finds on the domain in question.
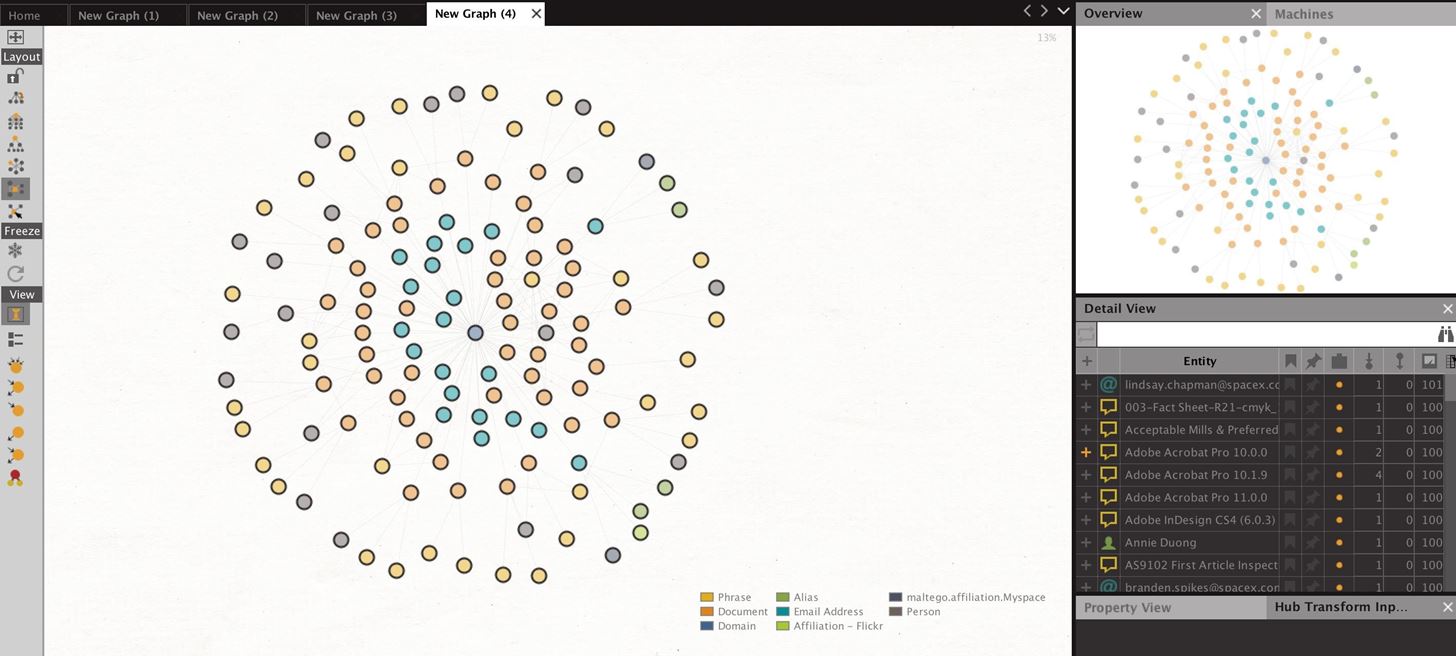
As seen in the example above, we were able to gather several email addresses from SpaceX.com, but the next step will be enriching these email addresses to improve our sample size.
Step 5: Enrich Your Employee Email List
After examining the data found in our first pull, we can delete entities that aren't relevant to our search by sorting on the Detail View window by entity type, selecting all the types you want to delete, and right-clicking on the selected group to show the "Delete" option, which should be a red "X."
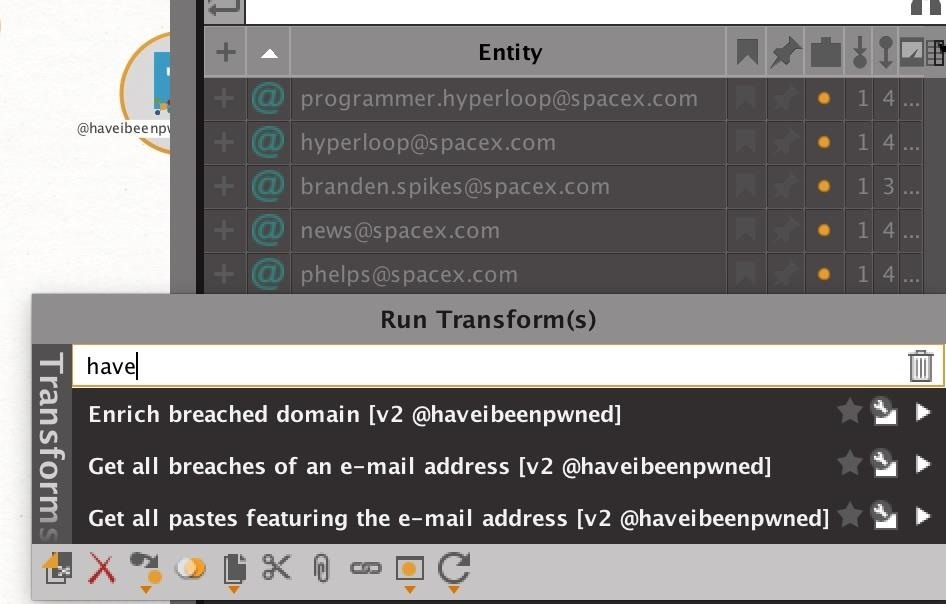
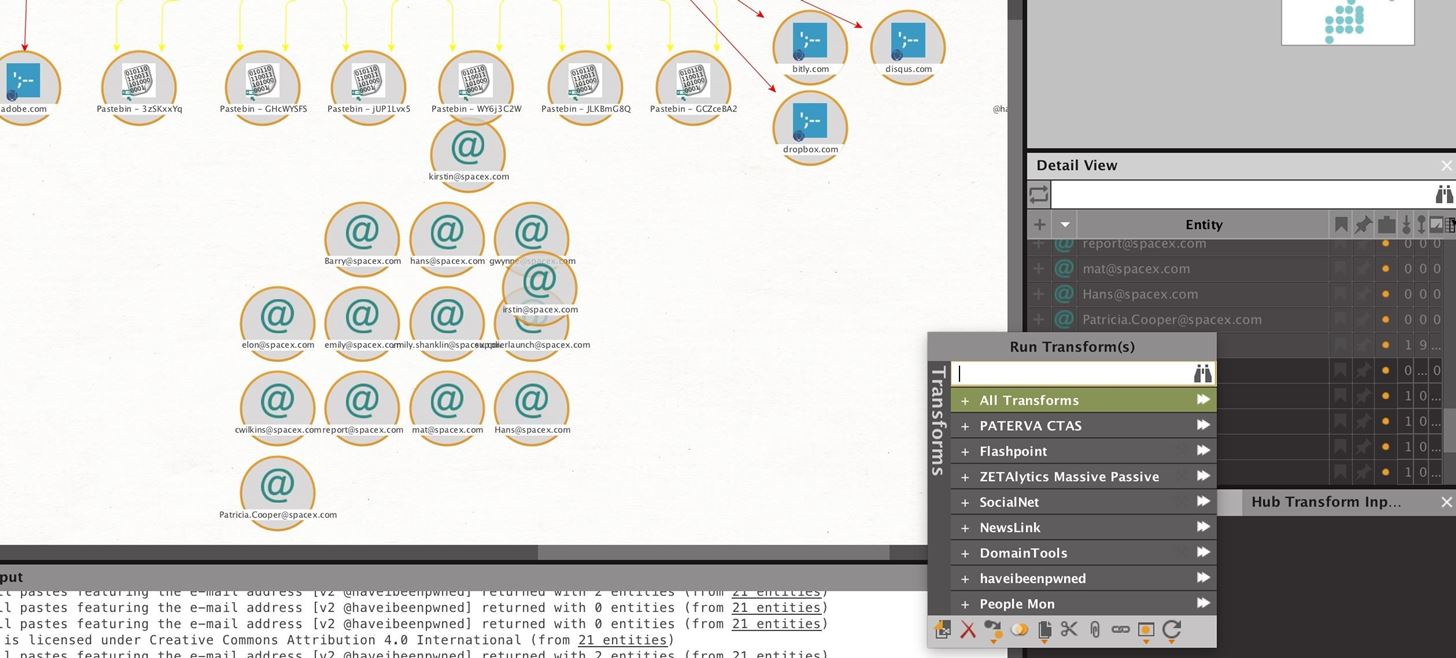
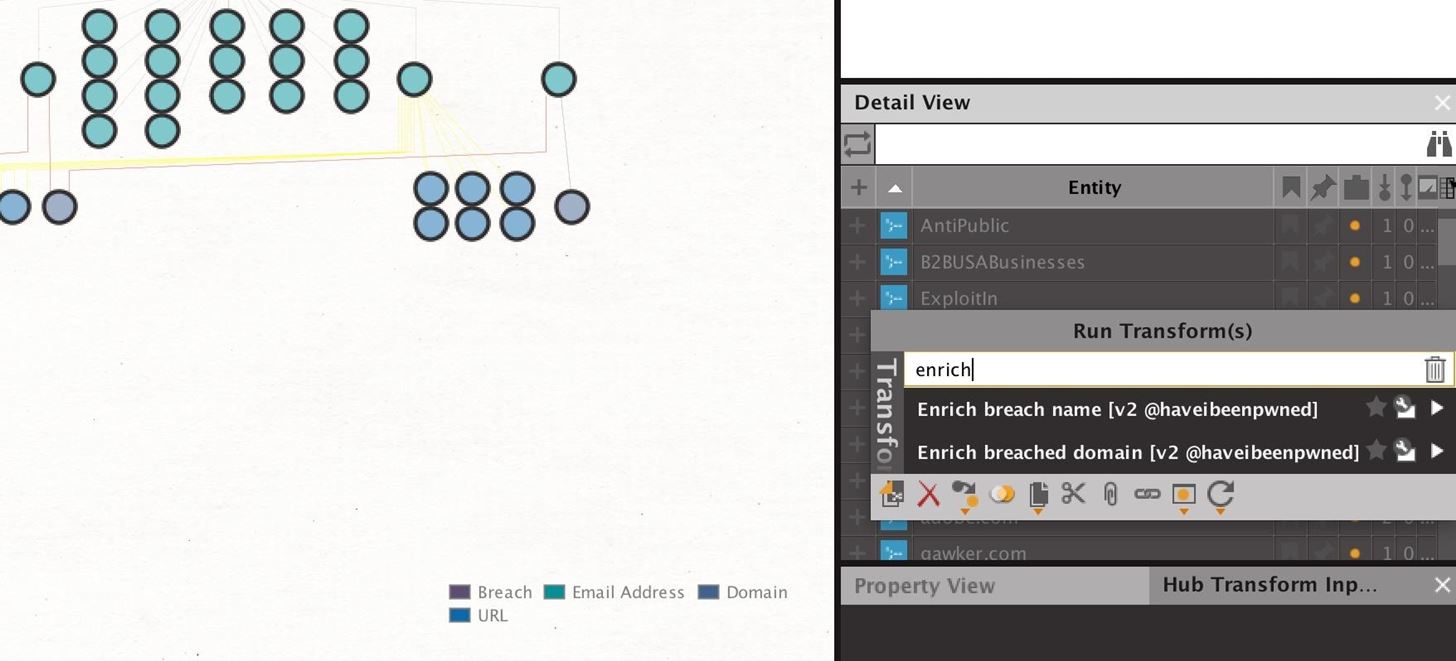
After cleaning up the graph, select all the email addresses you found in the Detail View pane. From here, we can run a series of transforms to identify any accounts that have been breached or any additional sources we may find of SpaceX.com email addresses.
When you right-mouse click the email addresses you've selected, type "haveibeenpwned" into the search bar on top to show all available transforms from the Have I Been Pwned transform set. In particular, we will run transforms to find all breaches and any Pastebin dumps including the email addresses selected.
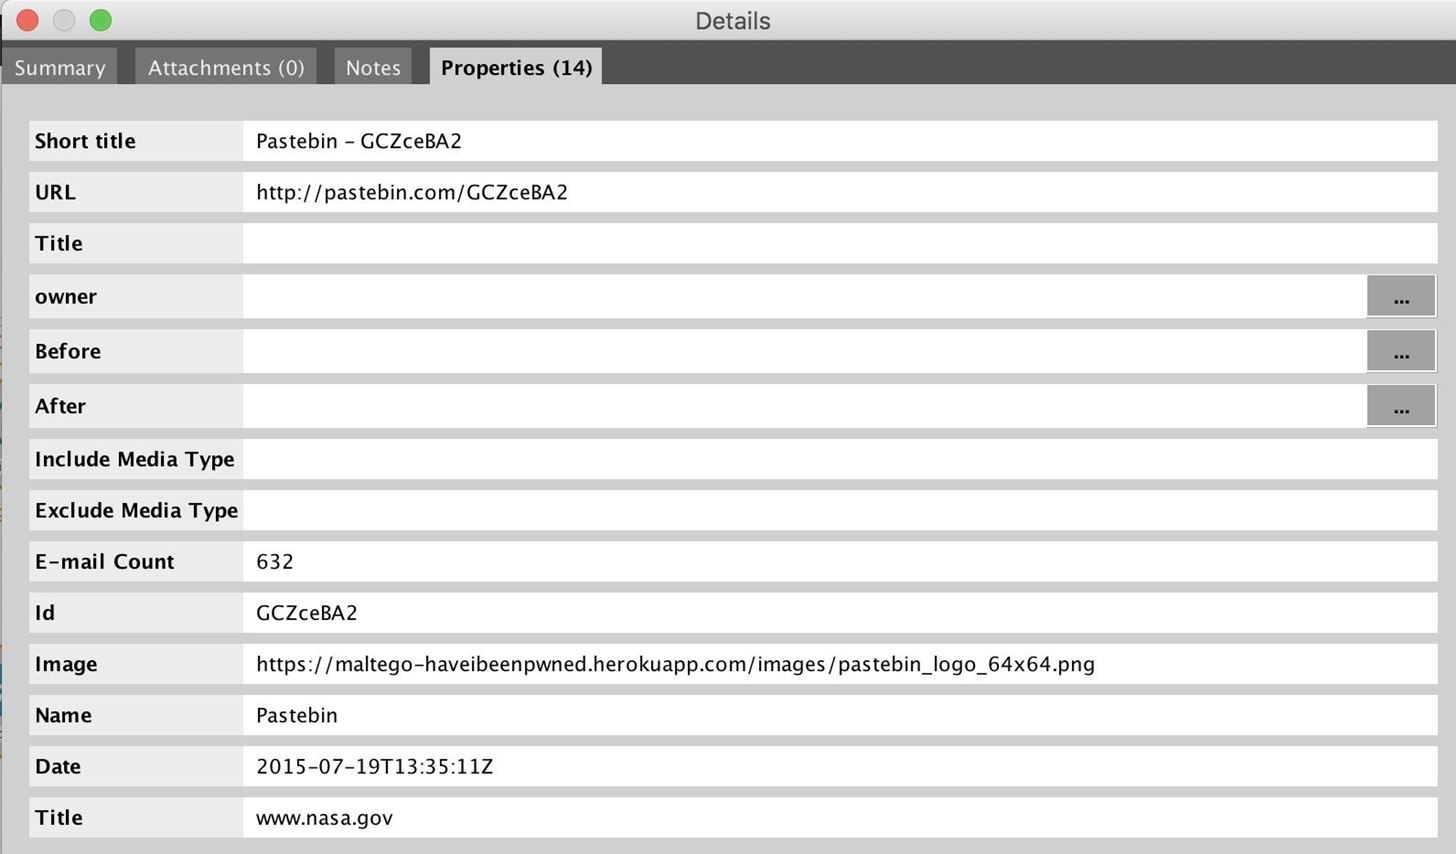
Once run, the transform should return a list of Pastebin dumps and account breaches attributed to the email address you selected. From here, we can look for Pastebin URLs that include lists of company email addresses.
In the example below, our first query actually uncovered a few email addresses involved in breaches, as well as no less than six Pastebin URLs that include related email addresses.
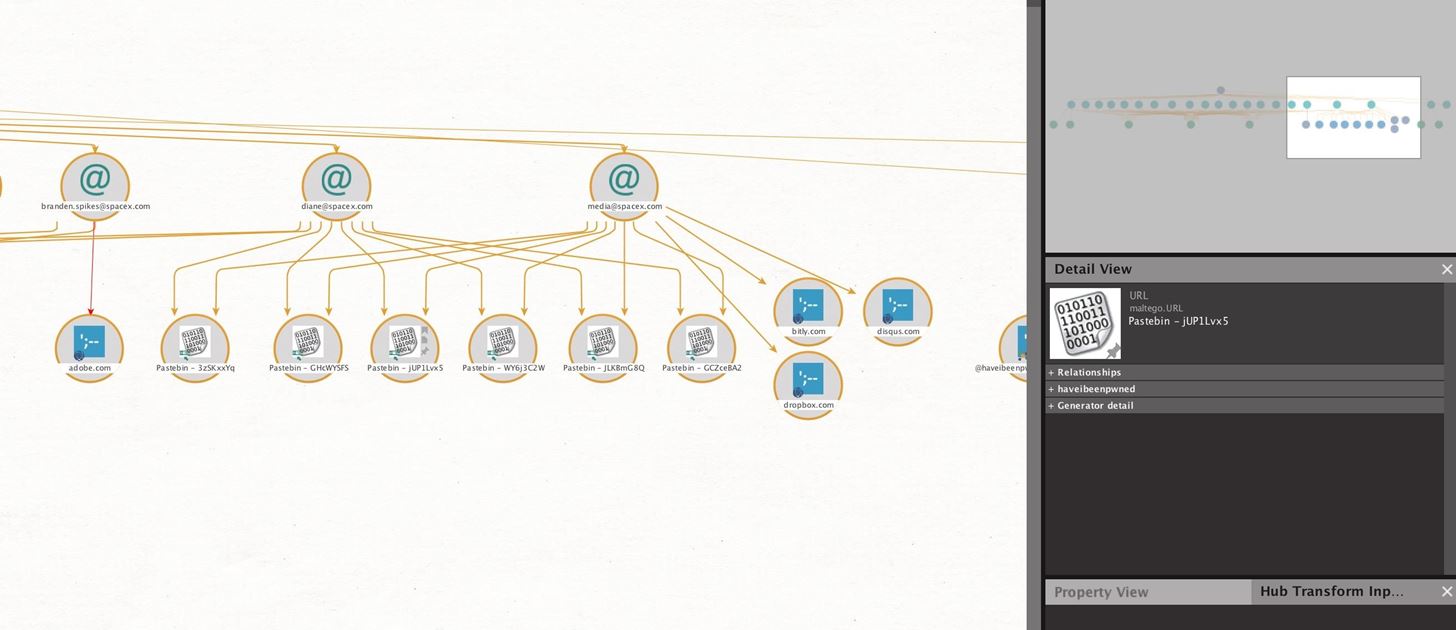
We can double-click on any of these, and then click "Properties," to find the URL of the Pastebin dump.
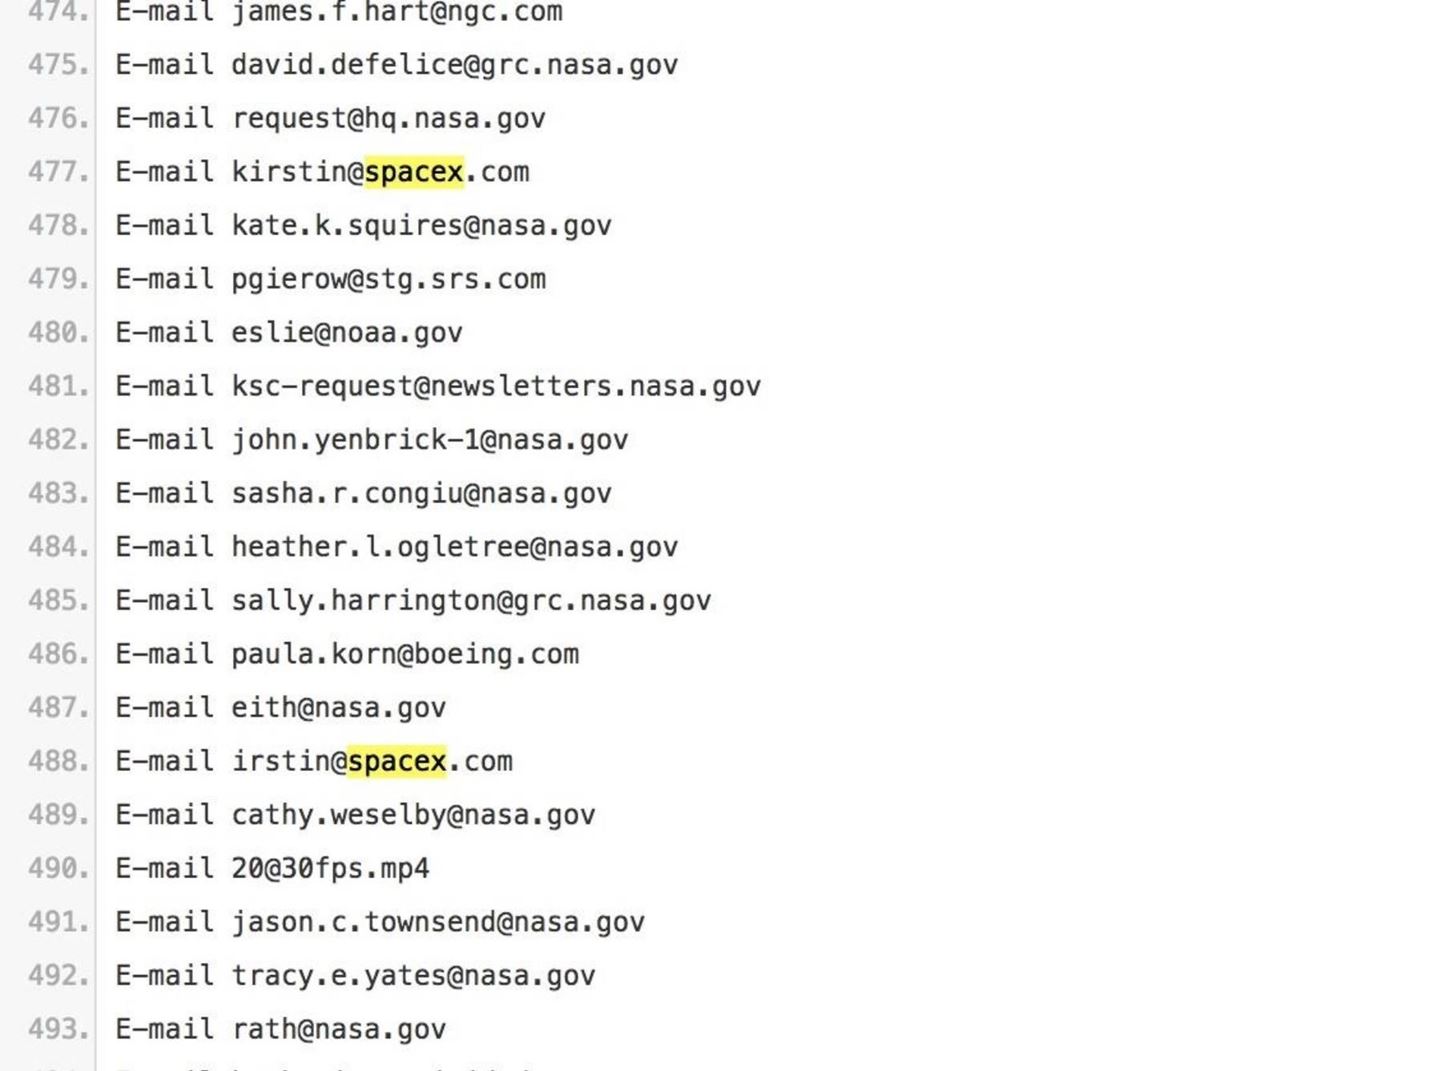
Taking this address, we can go directly to the Pastebin dump and search for other SpaceX.com email addresses to find. There were quite a few. We can select, copy, and paste these directly into Maltego.
You can do the same with any other email addresses you find, and then run the earlier transform on them to see if they appear in any other Pastebin dumps. We can also include email addresses found through the use of other email scrapers like TheHarvester.
Through repeating this several times, you can find many more email addresses to add. When you paste in a new email address, Maltego should detect the data type and assign it automatically.
Step 6: Identify Email Addresses of Breached Employees
Now that we've gathered a list of employee emails, we can begin passing them through the Have I Been Pwned transform to find which may have been involved in a breach.
Select all of the email addresses we've found, and press the double "play" icon next to the "haveibeenpwned" transform item. This will run all the transforms contained in that set at the same time, looking both for breaches and Pastebin dumps.
When the results are complete, we should have a list of email addresses involved in breaches. Our results returned with several email addresses which were involved in known breaches.
Now that we've found who has been losing credentials, we can take the next step to find out who lost what.
Step 7: Discover What Was Lost by Who
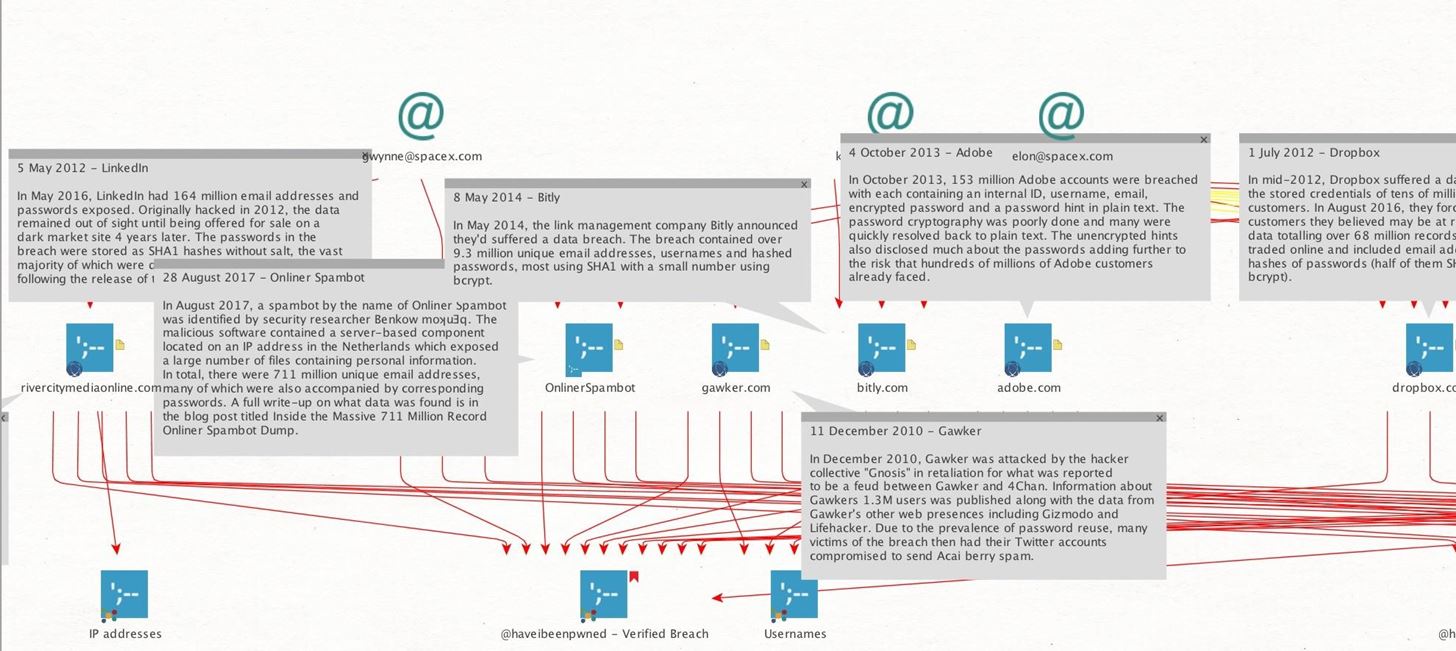
We can find more information about the breaches the target employees were involved in by selecting the breaches we've discovered, and then enriching them further by right-clicking and typing "enrich" to show the breach enrichment options. Run both to learn details about the breach itself and details about the types of data lost in that particular breach.
After running these transforms, we should see an expanded profile of information about each breach, including the specific date. Additionally, each breach will now include an element to indicate whether passwords, usernames, or other types of data were lost.
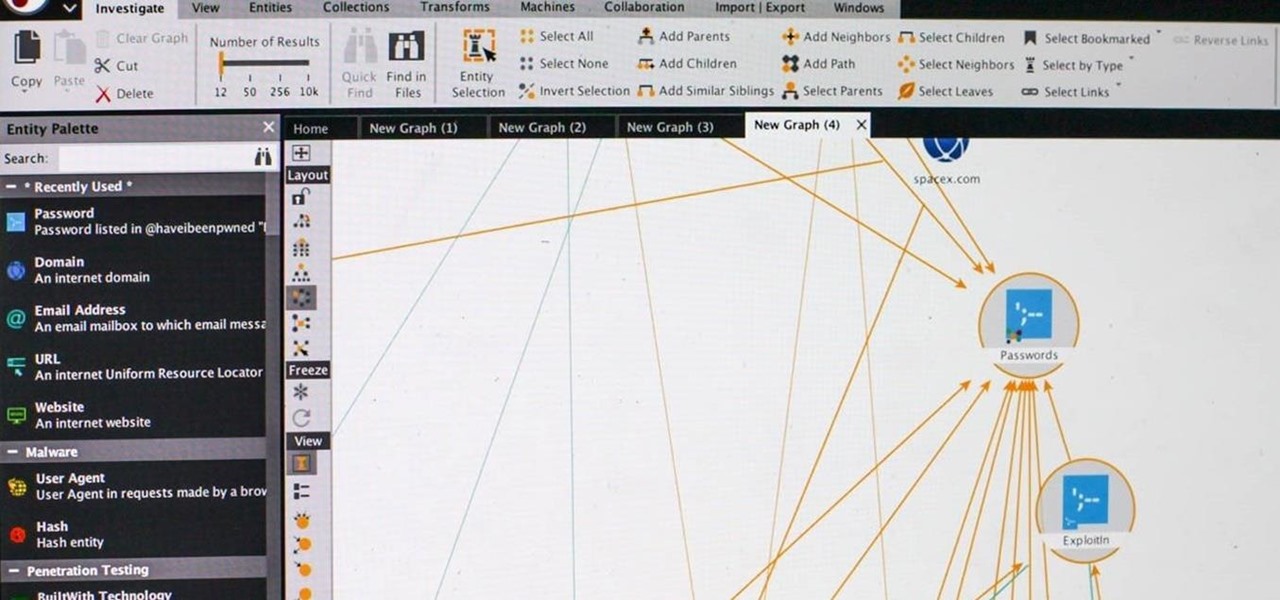
So how can we filter to show only email addresses who have lost specific kinds of data? In this case, we want to find users who have had passwords lost. To this end, we can filter our results to only show emails who have lost this kind of data.
In the pane on the right, we can select all the "Password" entities, as these are incidents in which actual passwords have been lost. Next, we can select "Add Parents" to add all of the elements that are connected as parent nodes to these elements. In this case, the breach is the parent node, and the "Passwords" element is the child node. Now, we have only breaches where passwords were lost selected.
By clicking "Add Parents" one more time, we will add any email addresses that are connected to these breaches which have lost passwords. Now, we have a list of email addresses who have lost passwords in breaches and the specific information of when and how that information was breached.
At this point, we have a targeted list of all employees involved in password breaches.
Step 8: Discover Actual Passwords in Breached Datasets
Discovering a breached password is relatively rare, but while demonstrating Maltego to a friend who is a TV executive, we were both surprised to find his old password in a Pastebin dump tied to his email address, sitting in plain text. Once you have a targeted email, discovering Pastebin dumps related to that email may contain much more information than just the email address.
There are a few methods of discovering the actual password that was lost, but in general, this depends on whether the stolen passwords were in plain text, hashed, salted, or otherwise encrypted. If the passwords were stolen and dumped in plaintext, you can simply use the information contained in the enriched breach data to attempt to locate the data dump. A talented researcher can often find these sorts of dumps looking through GitHub and other common places for hacked data to be exchanged.
If the passwords stolen were hashed, there is the possibility you could crack them, if this old password is of real value to you. By brute-forcing against some common hashing algorithms, it is possible to retrieve passwords from an old data breach if the password is contained in your dictionary file. Finding the name of the breach by looking in the enriched breach data is the first step to tracking down the actual information that was lost in the breach.
In general, the target here is more to locate employees with relaxed security positions, and the actual data they lost is irrelevant unless it's easily accessible. If the password is easy to find, it is very helpful to know how the account owner has constructed their passwords in the past. Using tools like the Mentalist, we can create similarly formatted passwords using the person's personal data to attempt to break into their account.
Defending Against OSINT-Based Attacks
If you've entered the same password you use on important accounts into any other account, you are vulnerable to this attack. You have no way of knowing how most companies you register accounts with store your password, so if they are lost in plaintext, any account with the same password is open to compromise.
Twitter recently discovered they were saving everyone's password in plaintext, which means that any account you have with the same password as your Twitter account has a chance of being that much easier to break into. You can mitigate this by choosing unique passwords for each account you have. Passwords like "UniquePasswordMyspace" don't work because an attacker will just try "UniquePasswordGmail" and so on, so make sure it's truly different and doesn't follow a predictable pattern.
Use a password manager to keep track of complicated unique passwords, and use a two-factor authentication method to ensure that stolen passwords are useless in other accounts. These best practices are your best defense against the standard attempts to breach an account a small amount of OSINT could enable.
I hope you enjoyed this guide to locating employees involved in data breaches using OSINT research! If you have any questions about this tutorial or using Maltego for OSINT research, feel free to leave a comment or reach me on Twitter @KodyKinzie.
Just updated your iPhone? You'll find new emoji, enhanced security, podcast transcripts, Apple Cash virtual numbers, and other useful features. There are even new additions hidden within Safari. Find out what's new and changed on your iPhone with the iOS 17.4 update.


Be the First to Comment
Share Your Thoughts